How To Grow Cannabis: How to Germinate Weed Seeds
Let’s say you’ve got some cannabis seeds that you found on the side of the road or were maybe gifted from a friend in the same state. Nice job! Below, we will break down a little bit more on how to germinate weed seeds using a paper towel.
Germination is relatively easy when you have all the right gear. Again, I’m growing outdoors in soil and was gifted three autoflower strains, so everything below is specific to those parameters.
If you’re growing outdoors and want to maximize your time, plan to start germinating and transplanting a few weeks before the last spring frost date in your region (depending on your climate). This way, by the time the weather is warm enough and the risk of frost is gone, you’ll be ready to move your seedling outside.
Disclaimers: NOT FOR SALE OR TRADE. The following post features content about cannabis cultivation and germination and other related material that is illegal under federal law as well as under state law in certain states. This content has been produced by Thunderbird Disco — located in the Commonwealth of Virginia — for educational and entertainment purposes only. All cultivation described below was completed in accordance with Virginia law as authorized in § 4.1-1101 Home cultivation of marijuana for personal use; penalties.
If you missed Part 1 of this series, feel free to check it out. For purely educational purposes, I highly recommend Homegrown Cannabis Co. seed bank, which has terrific video content and information on seeds, as well as I Love Growing Marijuana, which has an excellent 70-page “Grow Bible” eBook for beginners and plenty of information on autoflower seeds.
This post contains affiliate codes or links that are no additional cost to you, and I may earn a small commission when a purchase is made.

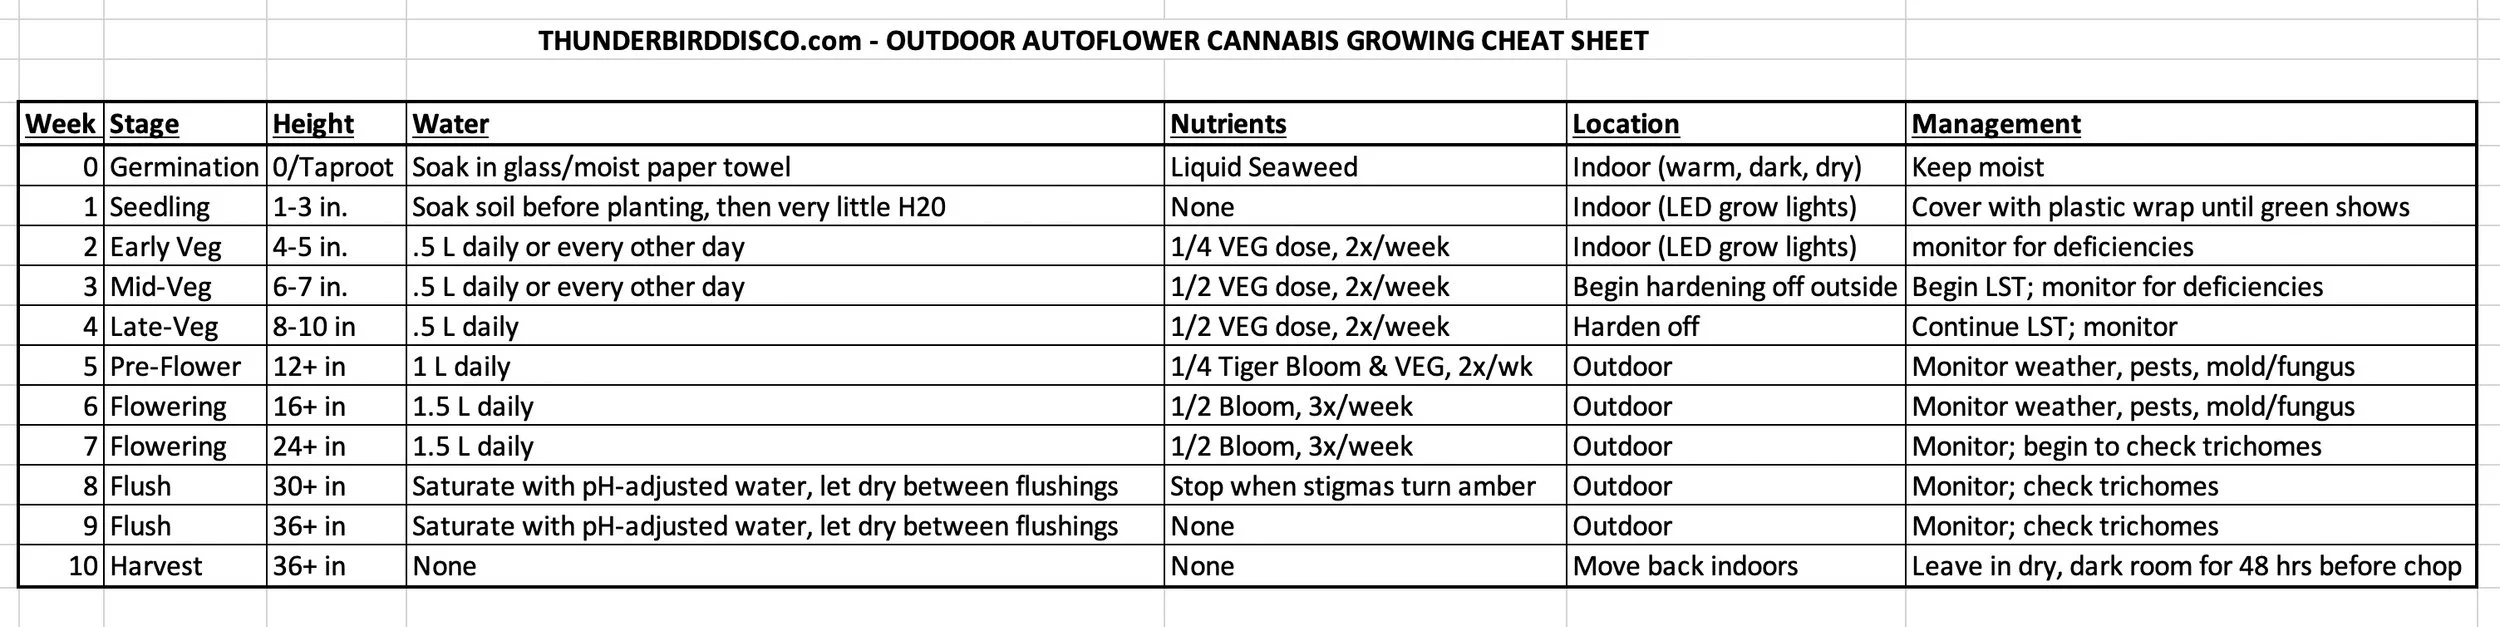
This won’t all make sense yet, but here’s a handy dandy week-by-week outdoor autoflower cannabis growing cheat sheet for all your watering, nutrient and general maintenance needs

MATERIALS You Need
White paper towels (no dyes or patterns)
Glass measuring cup (something with a spout)
Purified water
Glasses
Dinner plates
Labeling tape
TIME TO GERMINATE: 2-3 days
🌱 Looking for the best seeds for your grow? Shop premium, high-germination cannabis seeds at Homegrown Cannabis Co. now!”


WEEK ZERO: GERMINATION
Step 1: Soak Your Seeds
Pour purified water into a measuring cup and add just a drop of liquid seaweed. Stir. If you’re growing multiple strains, don’t mix all the seeds together in one vessel! Label different glasses with the different strain names and pour some seaweed water into each glass. Place your seeds in this water and let soak for about 24-48 hours in a warm, dry, dark place. Moisture and humidity help start the germination process.
Alternative Method: Direct Planting into the Growing Medium
For those looking to skip the pre-germination process, direct planting is a viable and natural way to start your cannabis seeds. This method mimics how seeds naturally sprout in the wild, reducing handling and the risk of damaging delicate taproots during transplantation. I like the paper towel method, but direct planting can be useful for growers who prefer a simple, low-maintenance approach.
Steps for Direct Planting:
Prepare Your Growing Medium
Choose a light, well-aerated seed-starting mix such as Fox Farm Light Warrior or another peat-based medium. Fill your grow bags, pots, or garden beds with this soil, ensuring it is moist but not overly wet.Plant the Seeds
Using a pencil or your fingertip, create a small hole about ¼ to ½ inch deep in the soil. Place the seed inside with the pointed end facing down (this helps the taproot grow in the right direction). Gently cover it with soil, but do not press down too hard—keeping it light and fluffy allows for easier sprouting.Maintain Optimal Conditions
Moisture: Lightly mist the soil with pH-balanced water (around 6.0-7.0) to keep it damp but not soaking. Overwatering can drown the seed.
Temperature: Keep the environment warm, ideally between 70-80°F to encourage germination. If growing indoors, a seedling heat mat can help maintain a consistent temperature.
Light: While cannabis seeds do not require light for germination, placing the pots under low-intensity grow lights (or near a sunny window) can create a favorable environment for seedlings once they emerge.
Germination Timeline
Seeds typically sprout within 3-7 days when directly planted. Be patient and avoid disturbing the soil during this period. If you do not see sprouts after a week, lightly mist the surface and wait a few more days before assuming the seed is non-viable.
🌱 Want the easiest way to grow? Check out these Top Autoflowering Seeds at Homegrown Cannabis Co.
Pros & Cons of Direct Planting
Pros:
Reduces handling and risk of damaging taproots
Mimics natural germination process, making it a good option for organic growers
No need for transplanting, preventing shock to seedlings
Cons:
Some seeds may struggle to push through heavy or compacted soil
Slightly longer germination time compared to pre-soaking
Requires close monitoring of moisture levels to prevent drying out
Step 2: Second Soak
Add another few drops of liquid seaweed to some purified water. You’re going to make this little wet paper towel sandwich with your seeds in the middle (follow this video).
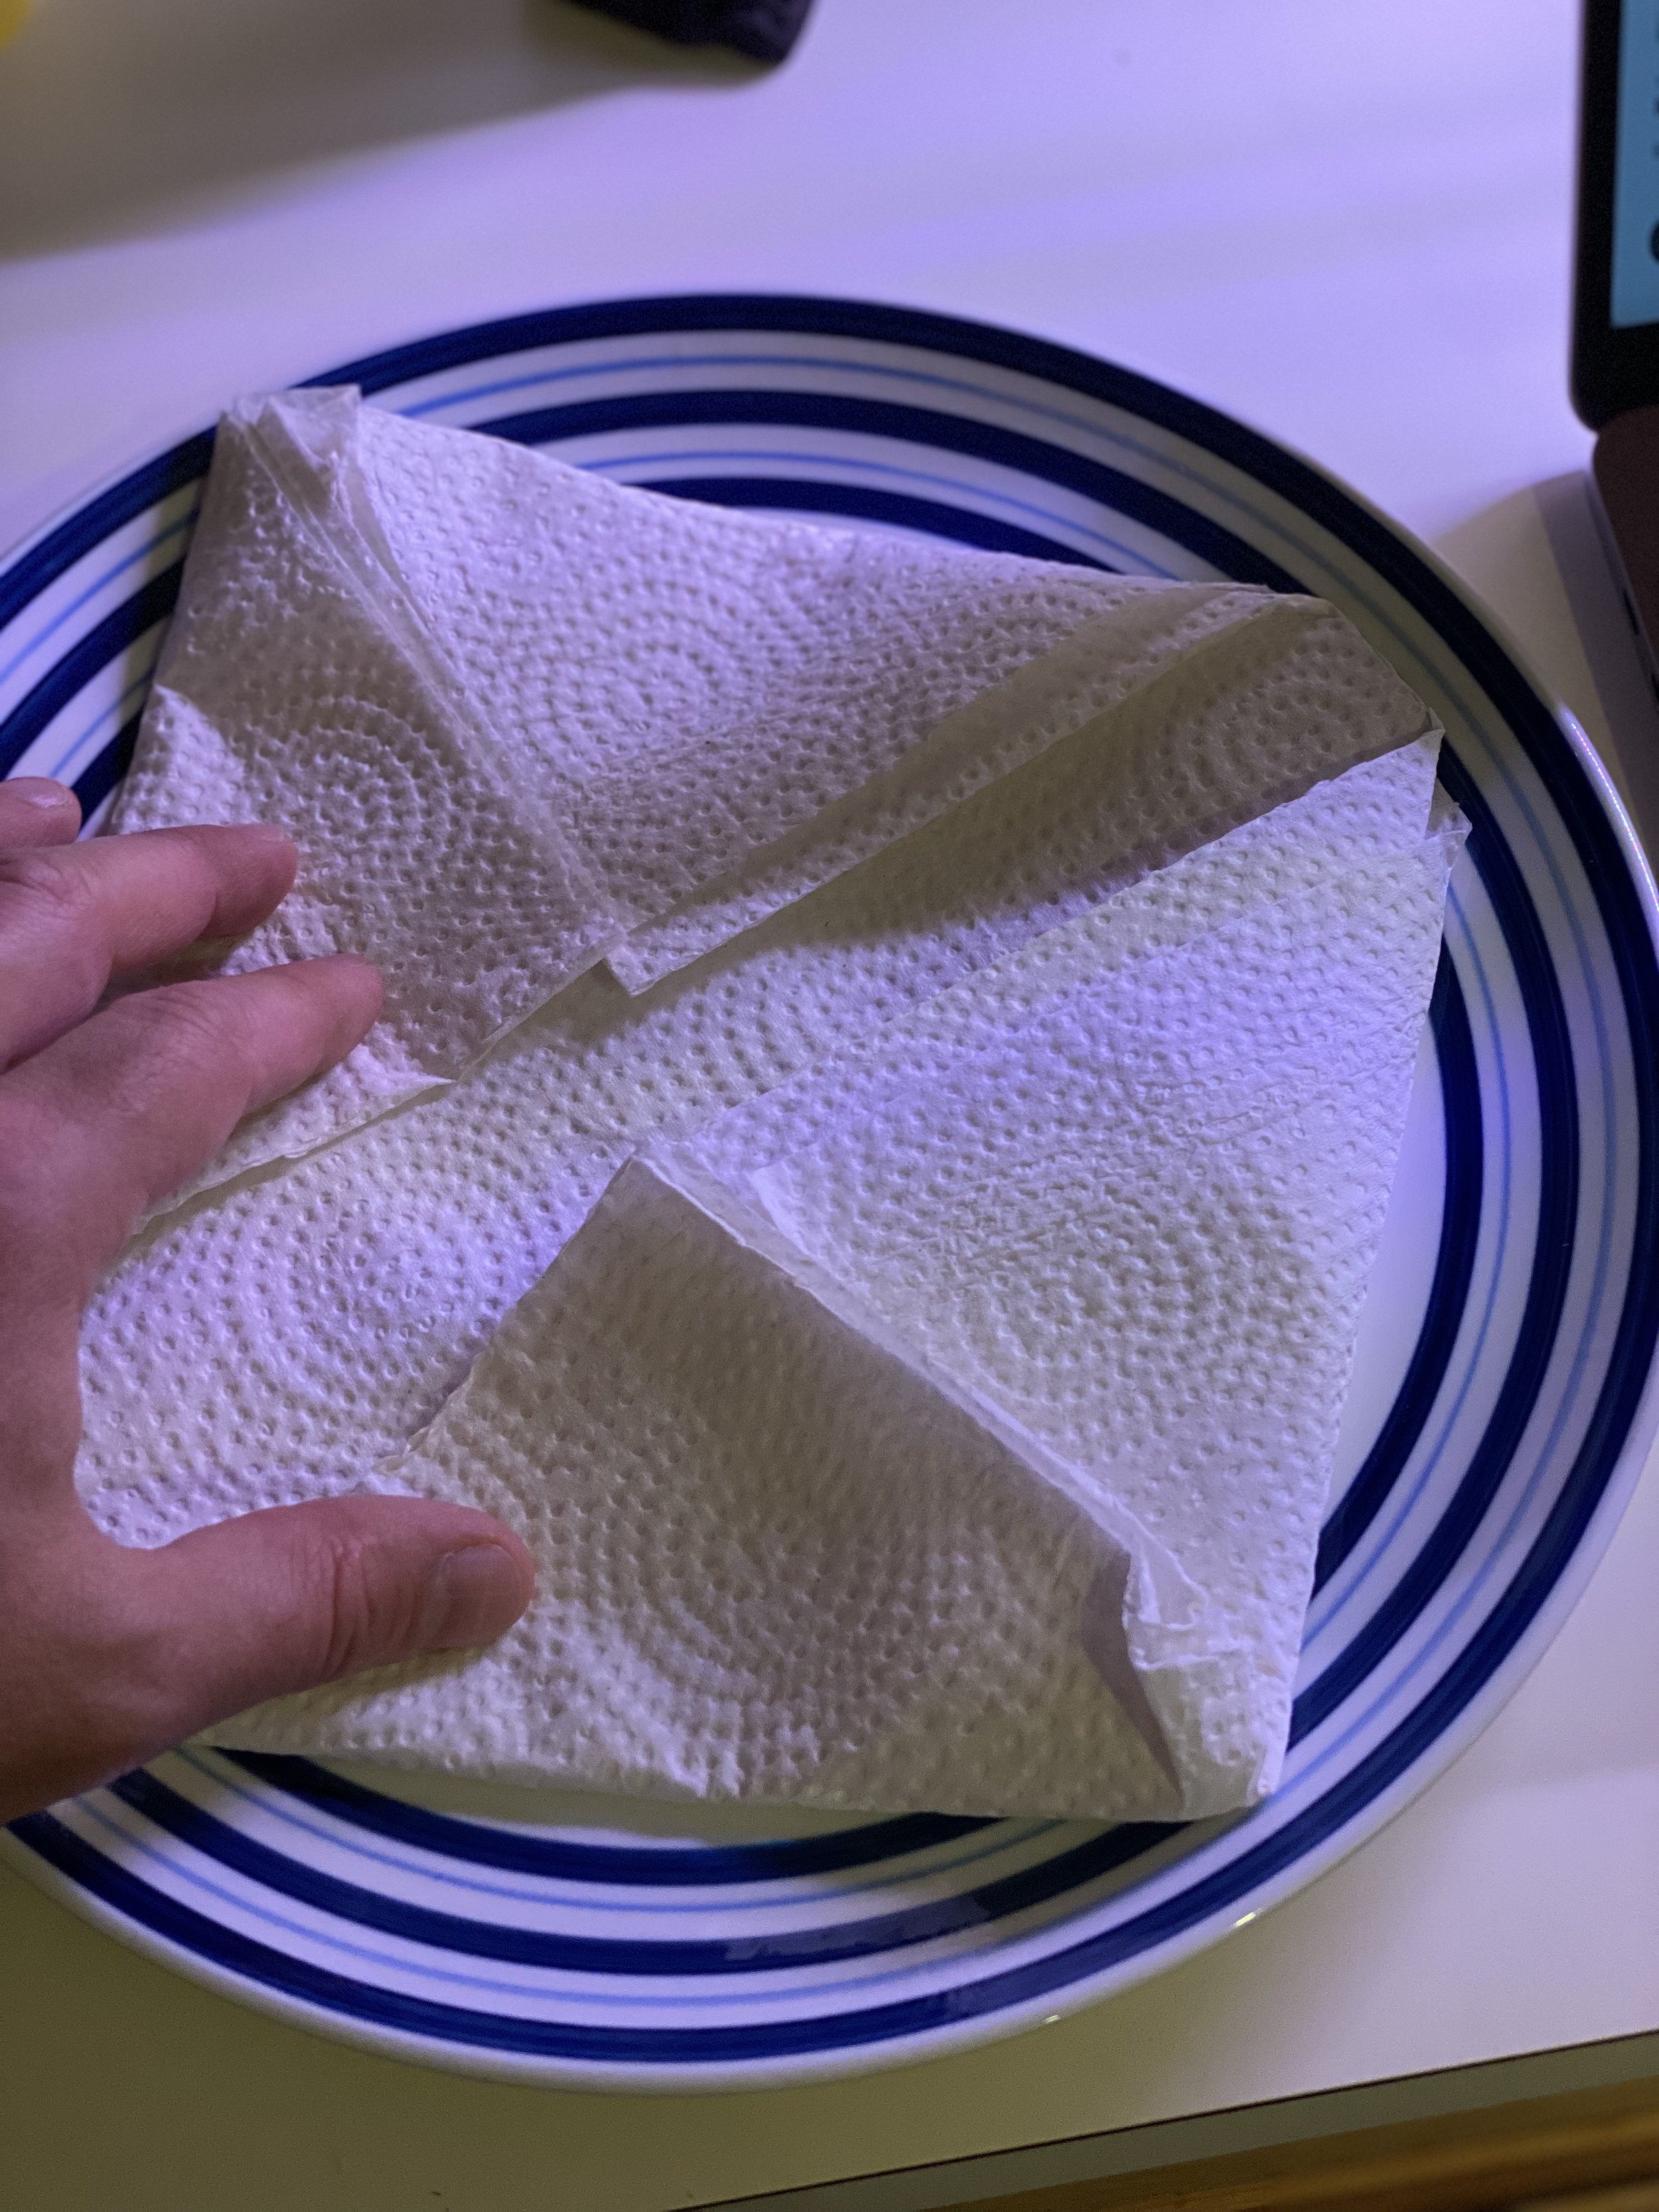
Stack 2-3 paper towel squares, fold in the corners to make into a diamond, place it on a dinner plate and then wet it down with seaweed water. Gently spread your soaked seeds onto this paper towel (again, keep the strains separate, and transfer the label from the glasses to the dinner plate).
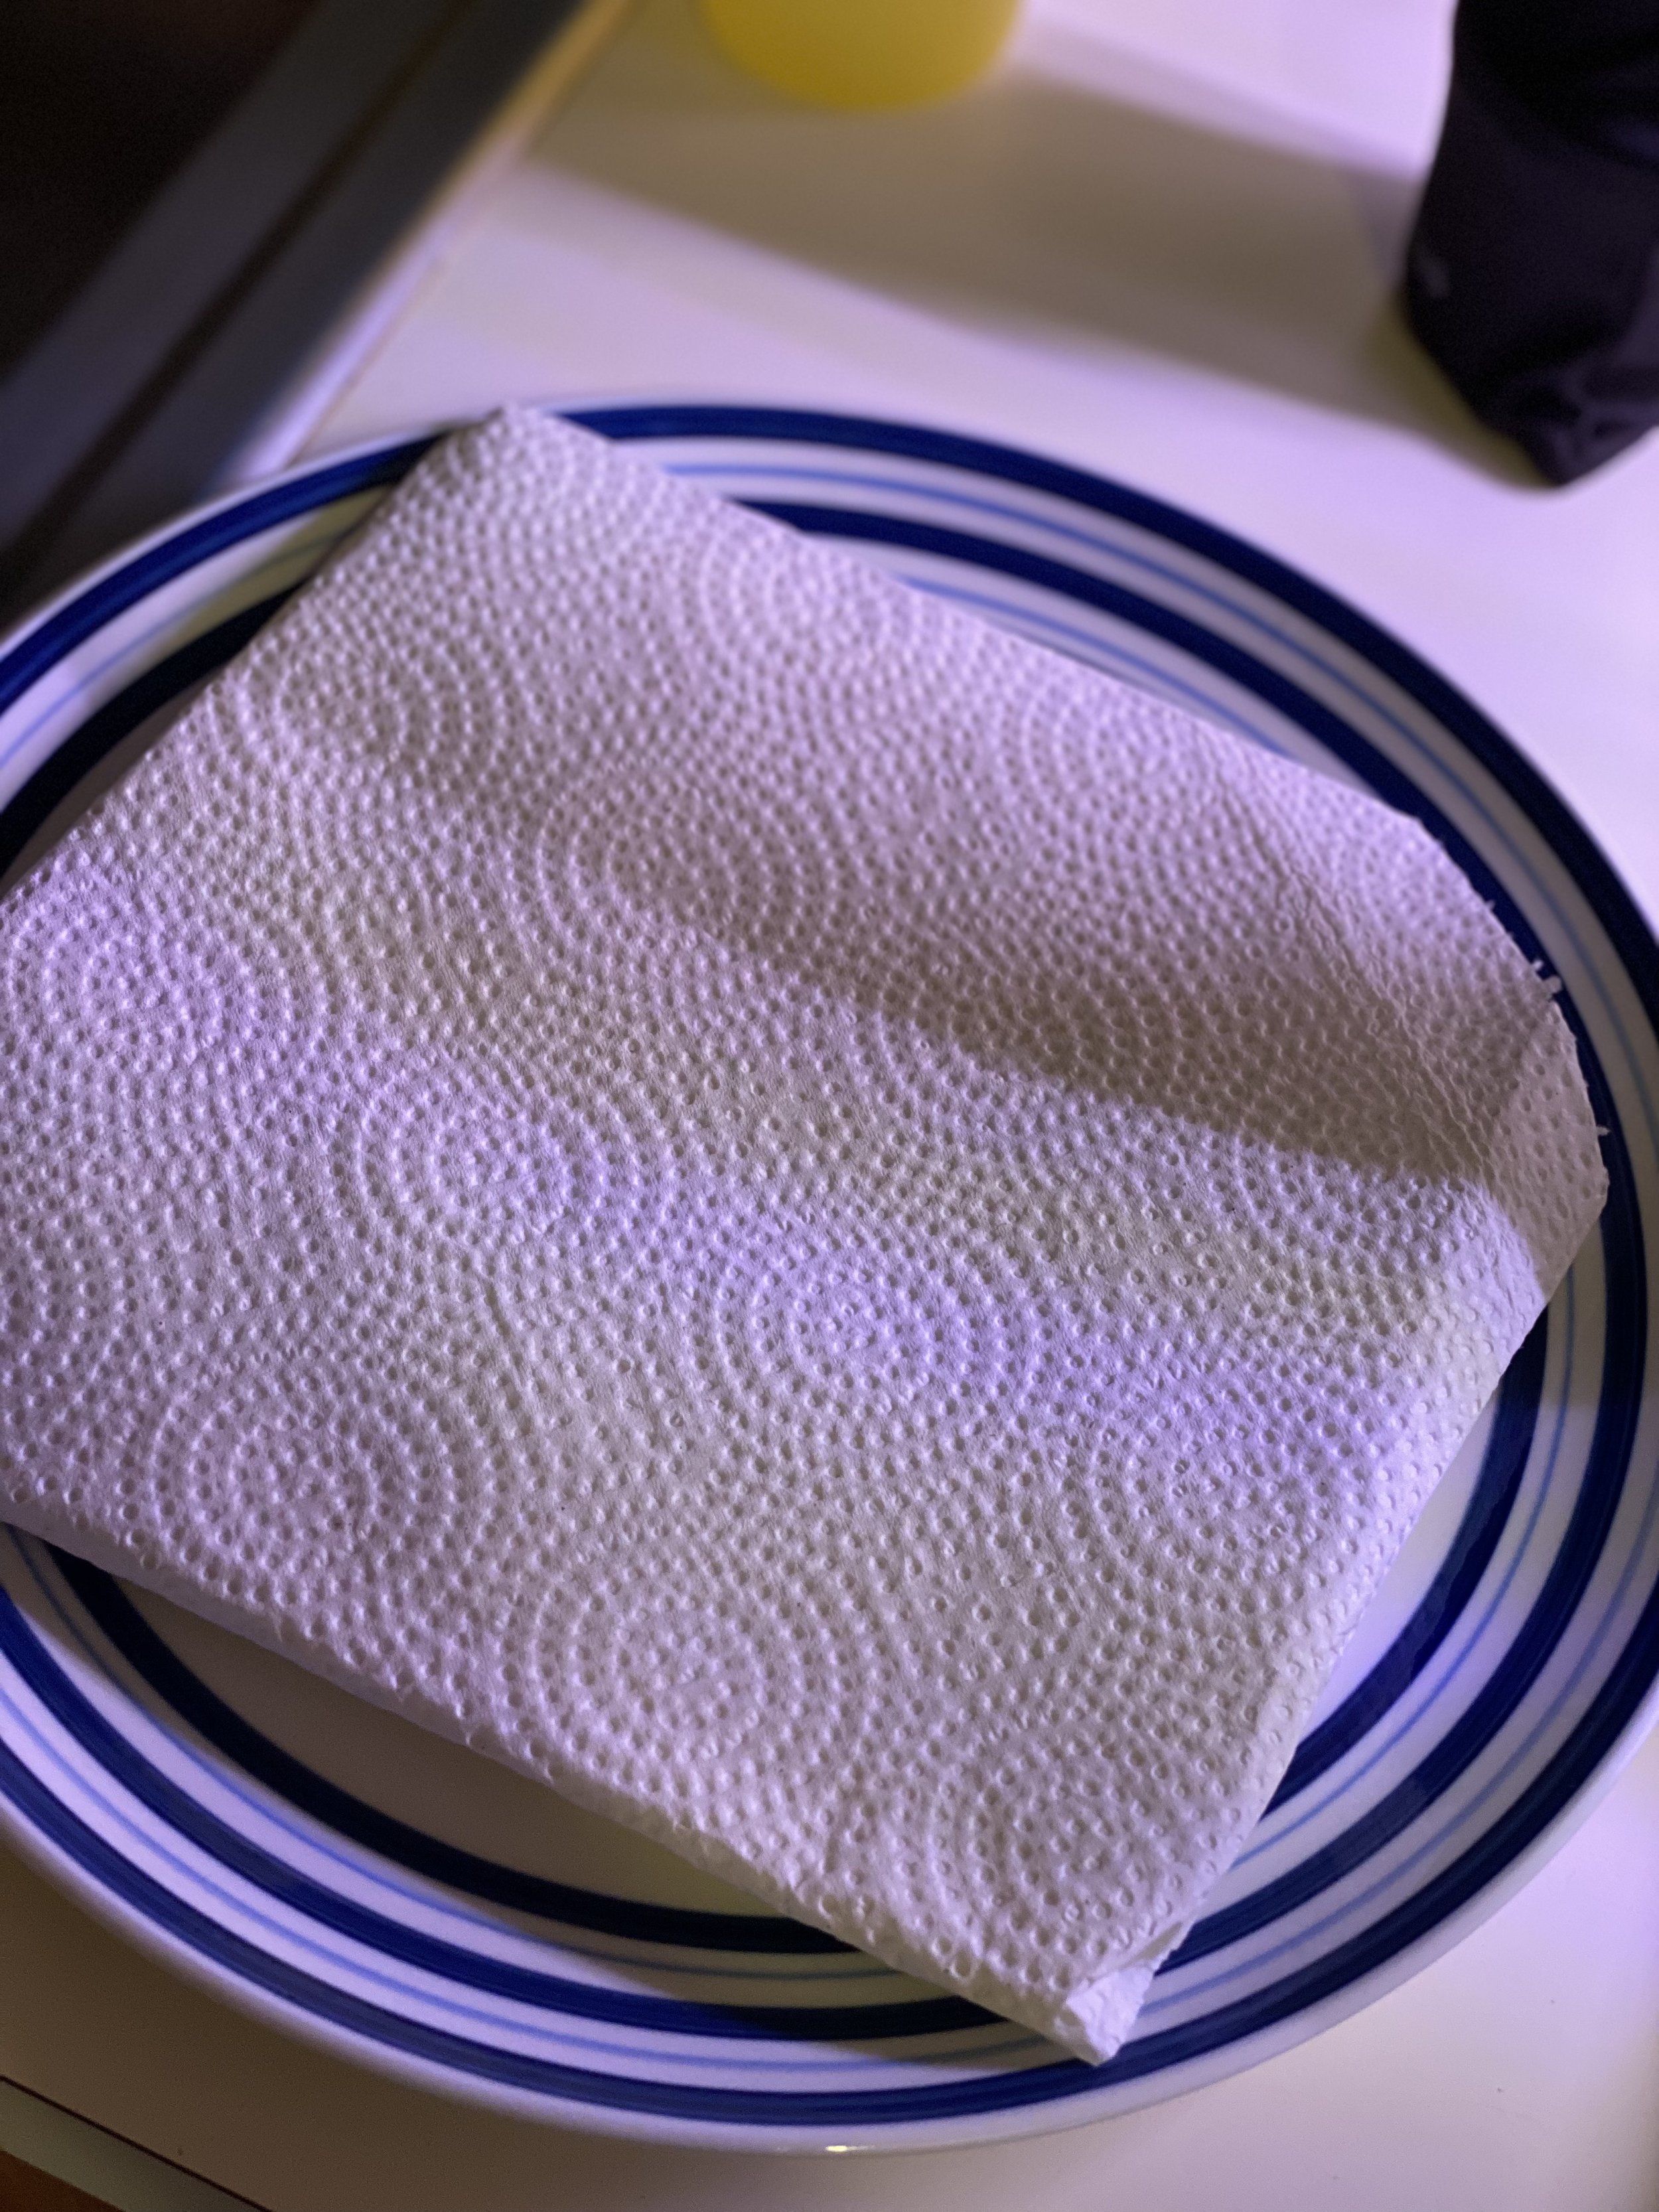
Now add another stack of 2-3 folded paper towels on top, and again wet it down. You want this stack to be wet but not soaking (no standing water on the plate). Plan to leave this for another 24-48 hours.
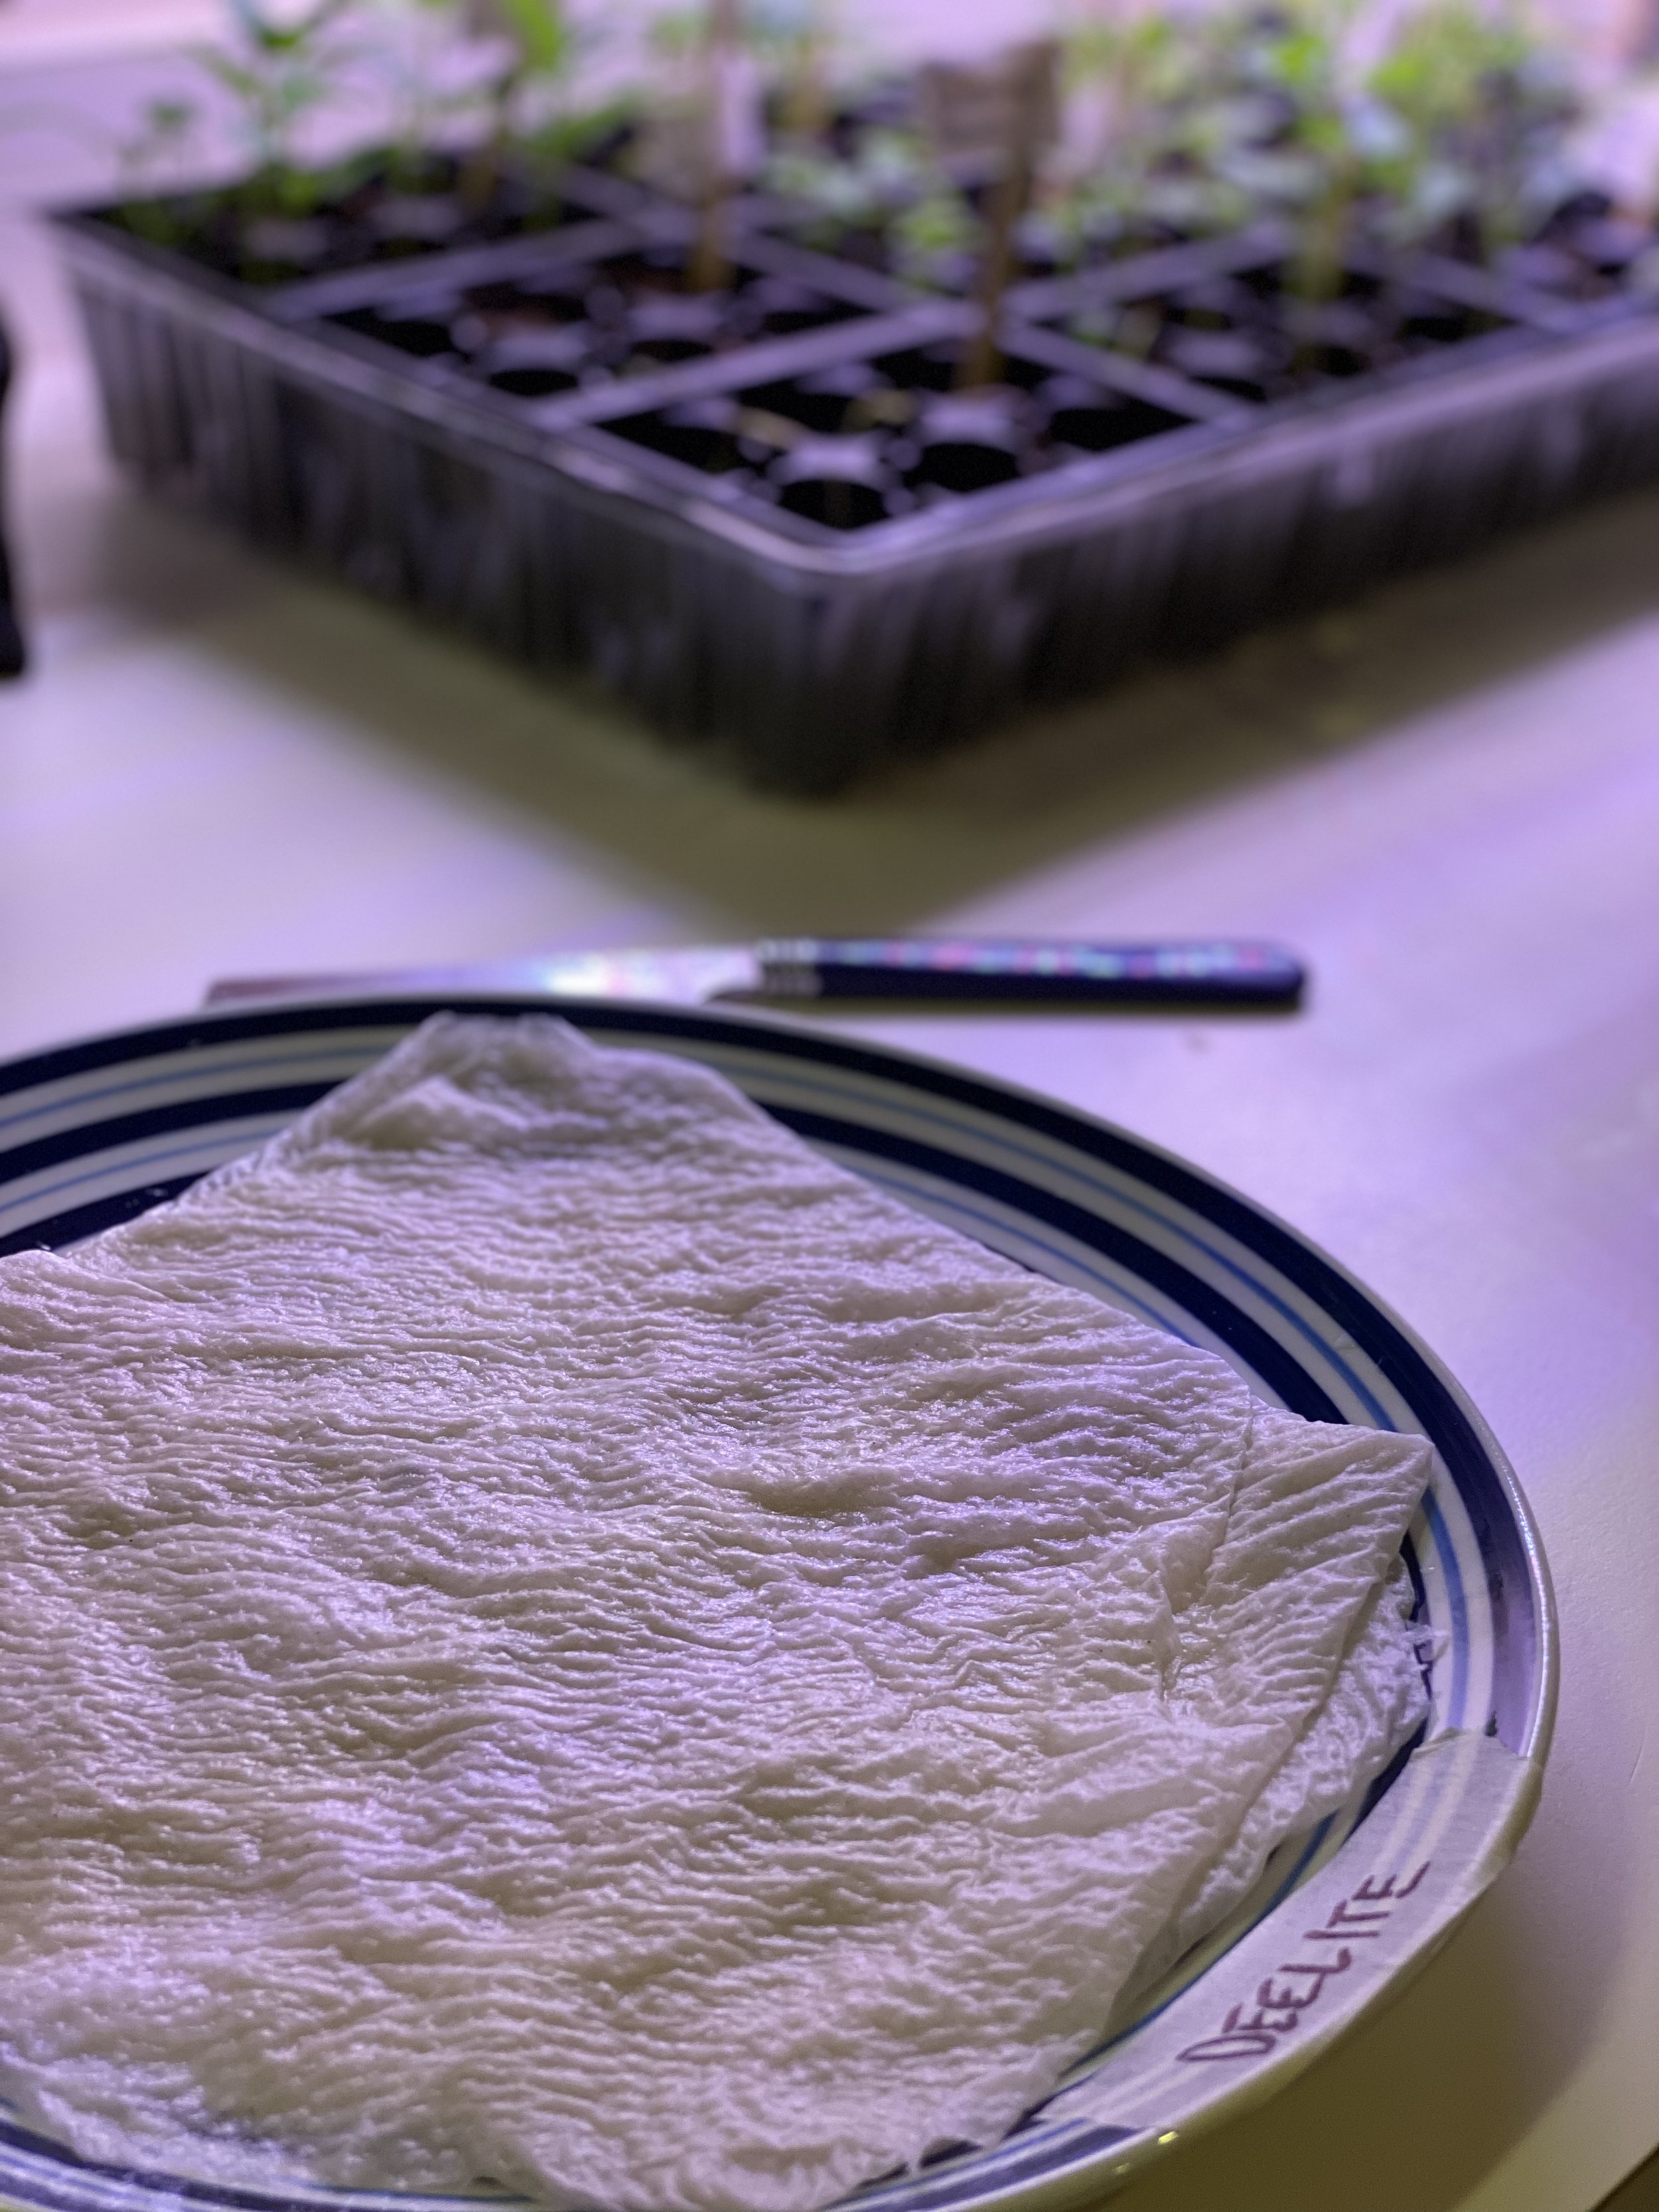
Step 3: Keep Moist
Don’t let the paper towels totally dry out — again, the humidity and moisture will help germination. Check every 8-12 hours or so and add more seaweed water as needed.
Monitoring Seeds Without Disturbing Them
It's natural to want to check on your seeds frequently, but excessive monitoring can do more harm than good. Every time you lift a paper towel or dig around in the soil, you risk damaging fragile roots, disrupting moisture levels, and exposing the seeds to unnecessary stress.
Instead, use these low-interference methods to monitor germination progress:
Observe condensation levels – If using the paper towel method, check for moisture on the edges of the paper towel rather than peeling it open. If the towel looks dry, lightly mist it with purified water.
Look for signs of sprouting – If seeds are in soil, watch for tiny green shoots emerging rather than digging to check progress.
Set a reminder – Check at 12-24 hour intervals instead of constantly opening the germination container.
Use a humidity dome – If using grow bags or seed trays, covering them with plastic wrap or a humidity dome can help maintain moisture levels without frequent watering or handling.
By being patient and minimizing direct interference, you give your seeds the best chance to develop strong taproots and healthy seedlings.
Step 4: Check for Taproots
After 48 hours, very carefully peel back the paper towel and check to see if there’s a taproot coming out of each seed. The root is likely a bit stuck to the paper towel, so go very slow and make sure you don’t damage this sprout while you’re peeling off the paper towel. If you see taproots, go on to the next phase. If not, let the baby seedlings sit in the moist towel for another day or two.
The Key to Successful Germination: Patience is Everything
One of the most important things to remember when germinating cannabis seeds is patience. Germination is a natural process that takes time, and seeds will sprout at their own pace. While some seeds may crack open and develop a taproot within 24-48 hours, others can take up to a week or more.
Resist the urge to constantly check, touch, or move your seeds during this period. Overhandling can stress the seed or damage delicate taproots, ultimately reducing the chances of a successful grow. Instead, focus on maintaining a stable environment — moisture, warmth, and darkness are the three key factors for healthy germination.
But once you have your taproot showing, take a look below at WEEK ONE: SEEDLING STAGE…

Troubleshooting Germination: Common Problems & Solutions
Even with proper techniques, not all cannabis seeds will germinate successfully. Several factors — ranging from genetics to environmental conditions — can affect germination rates. Below are some of the most common problems growers face and how to fix them.
1. Seeds Not Germinating
❌ Problem: Your seeds have been soaking or in a moist paper towel for several days, but there’s no sign of taproots.
✅ Solutions:
Give it more time – Some seeds take longer than others to germinate, especially if they are older or have a harder shell. Be patient and wait up to 7 days before assuming failure.
Try lightly scuffing the shell – If the seeds are still unresponsive, gently rub them with fine sandpaper or an emery board before soaking them again. This can help water penetrate the shell.
Check water temperature – Cold water slows germination. Keep the soaking water at room temperature (70-75°F/21-24°C).
2. Taproot Emerging but No Further Growth
❌ Problem: The seed cracked open, but the taproot stopped growing or turned brown.
✅ Solutions:
Check moisture levels – If the paper towel is too wet, the seed can rot. Make sure the towel is moist, not soaked, with no standing water on the plate.
Ensure a warm environment – Germination slows down in cold temperatures (below 70°F/21°C). Use a seedling heat mat if necessary.
Avoid contamination – Always use clean hands or sterilized tweezers when handling germinated seeds to prevent bacterial or fungal infections.
3. Mold or Fungus on Seeds
❌ Problem: White fuzz or a slimy film appears on the seeds during germination.
✅ Solutions:
Improve air circulation – If using the paper towel method, leave the plate slightly uncovered to allow airflow.
Use purified water – Tap water with high chlorine or contaminants can promote fungal growth. Use filtered, distilled, or spring water.
Try hydrogen peroxide – A weak hydrogen peroxide solution (0.5-1%) in the soaking water can help prevent mold while boosting oxygen levels.
4. Seeds Germinate but Struggle to Break Through Soil
❌ Problem: You planted germinated seeds in soil, but they never emerge.
✅ Solutions:
Plant at the right depth – Seeds planted too deep may struggle to reach the surface. Keep it at ¼ to ½ inch (6-12mm) deep.
Loosen the soil – If the soil is too compact, the seedling might not push through. Lightly aerate the top layer before planting.
Mist the surface – Dry topsoil can create a crust, making it hard for seedlings to break through. Gently mist the surface daily to prevent this.
🌱 Want the easiest way to grow? Check out these resilient beginner-friendly strains at Homegrown Cannabis Co.

WEEK ONE: SEEDLING STAGE
MATERIALS
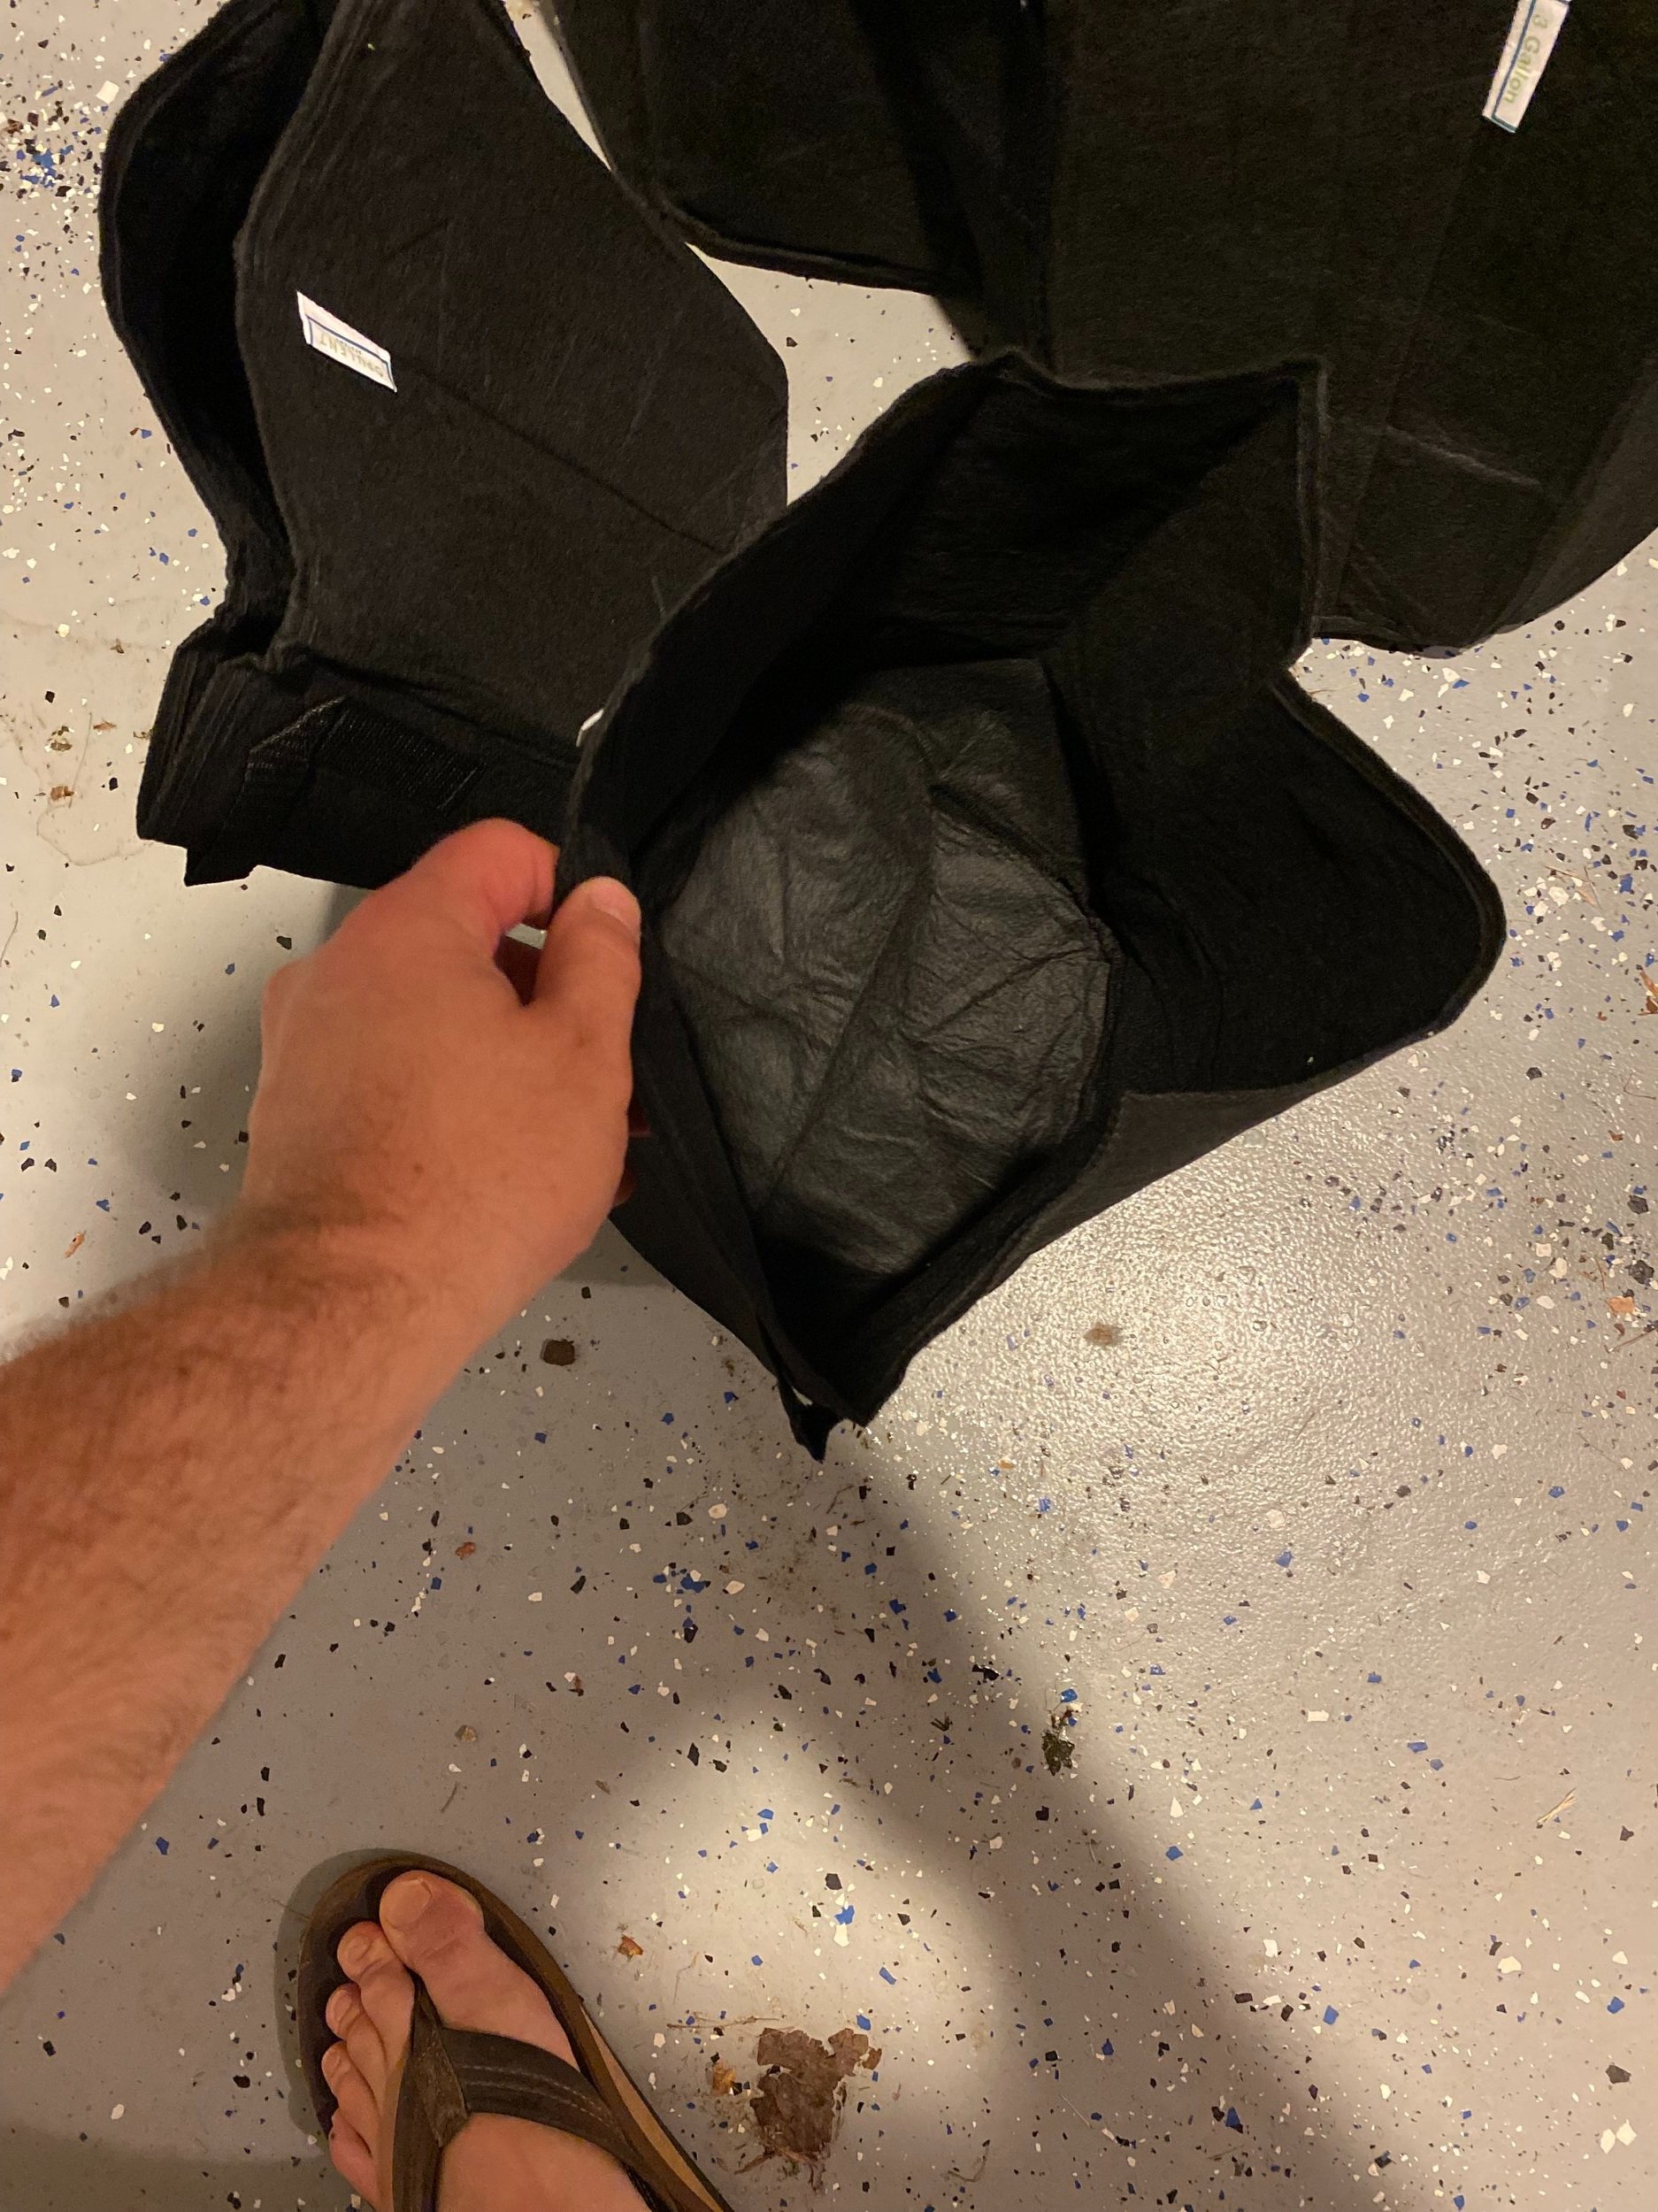
3- or 5-gallon Grow Bags (I used Opulent Systems 3-gallon)
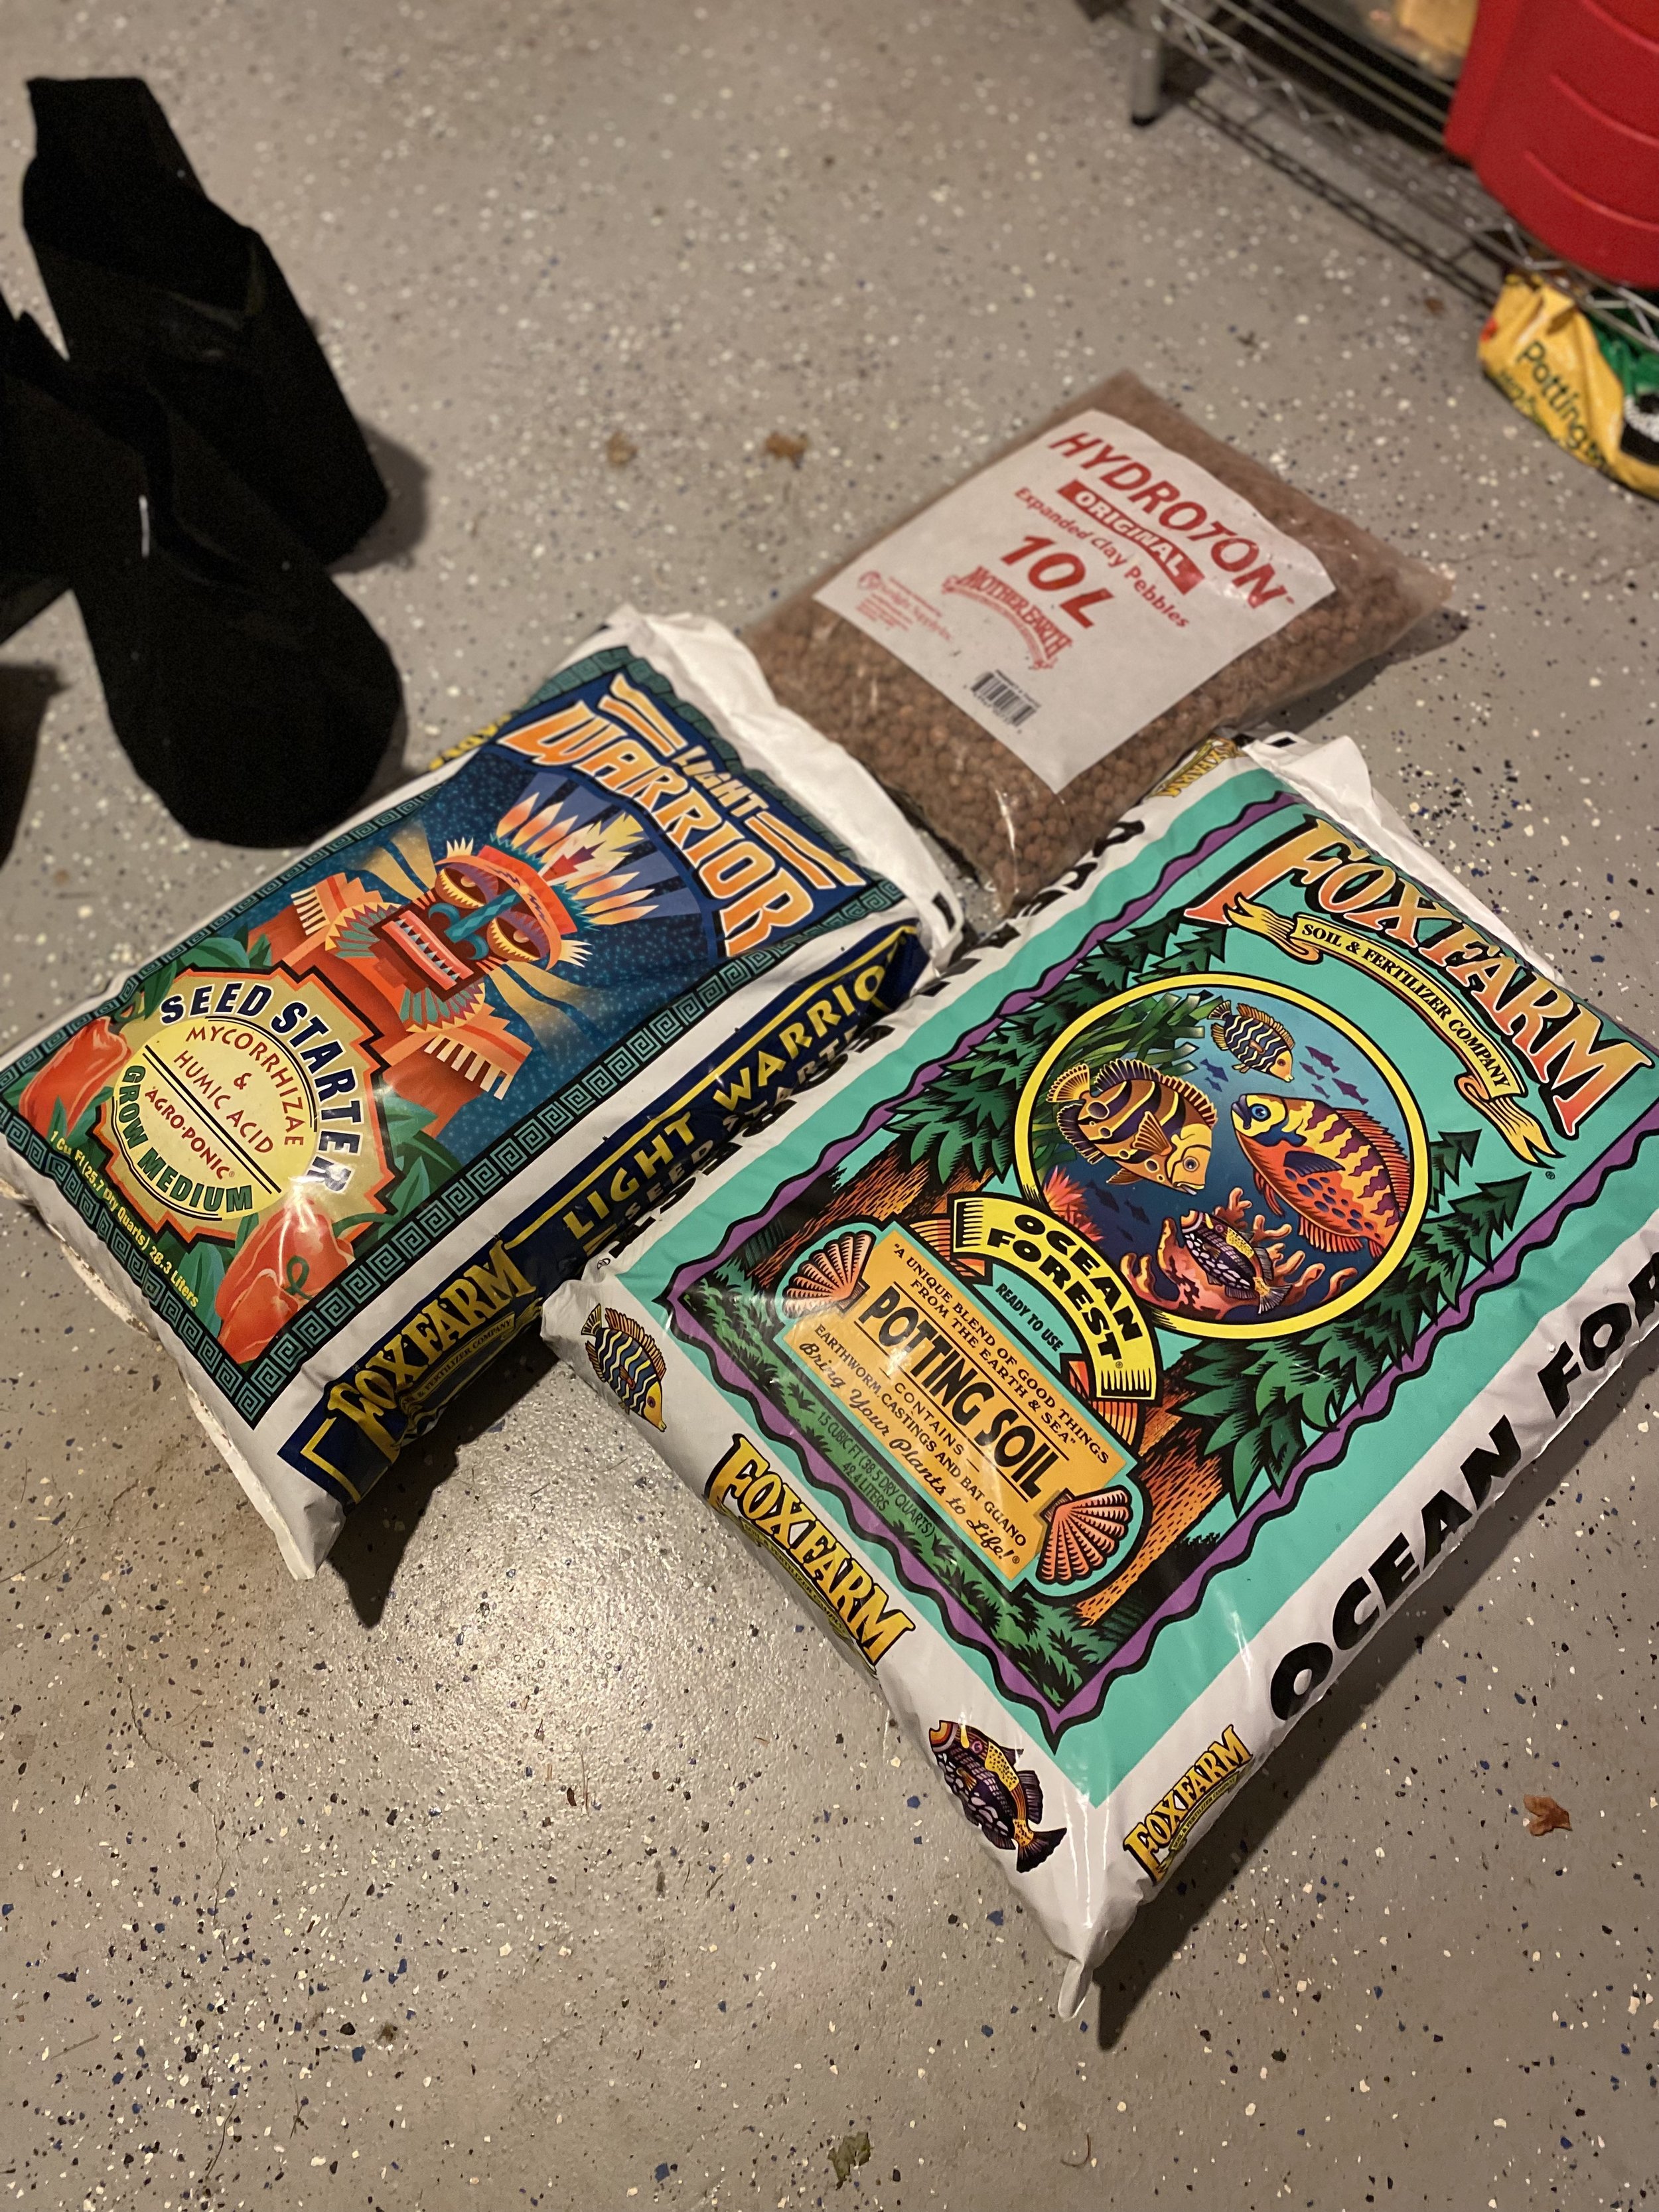
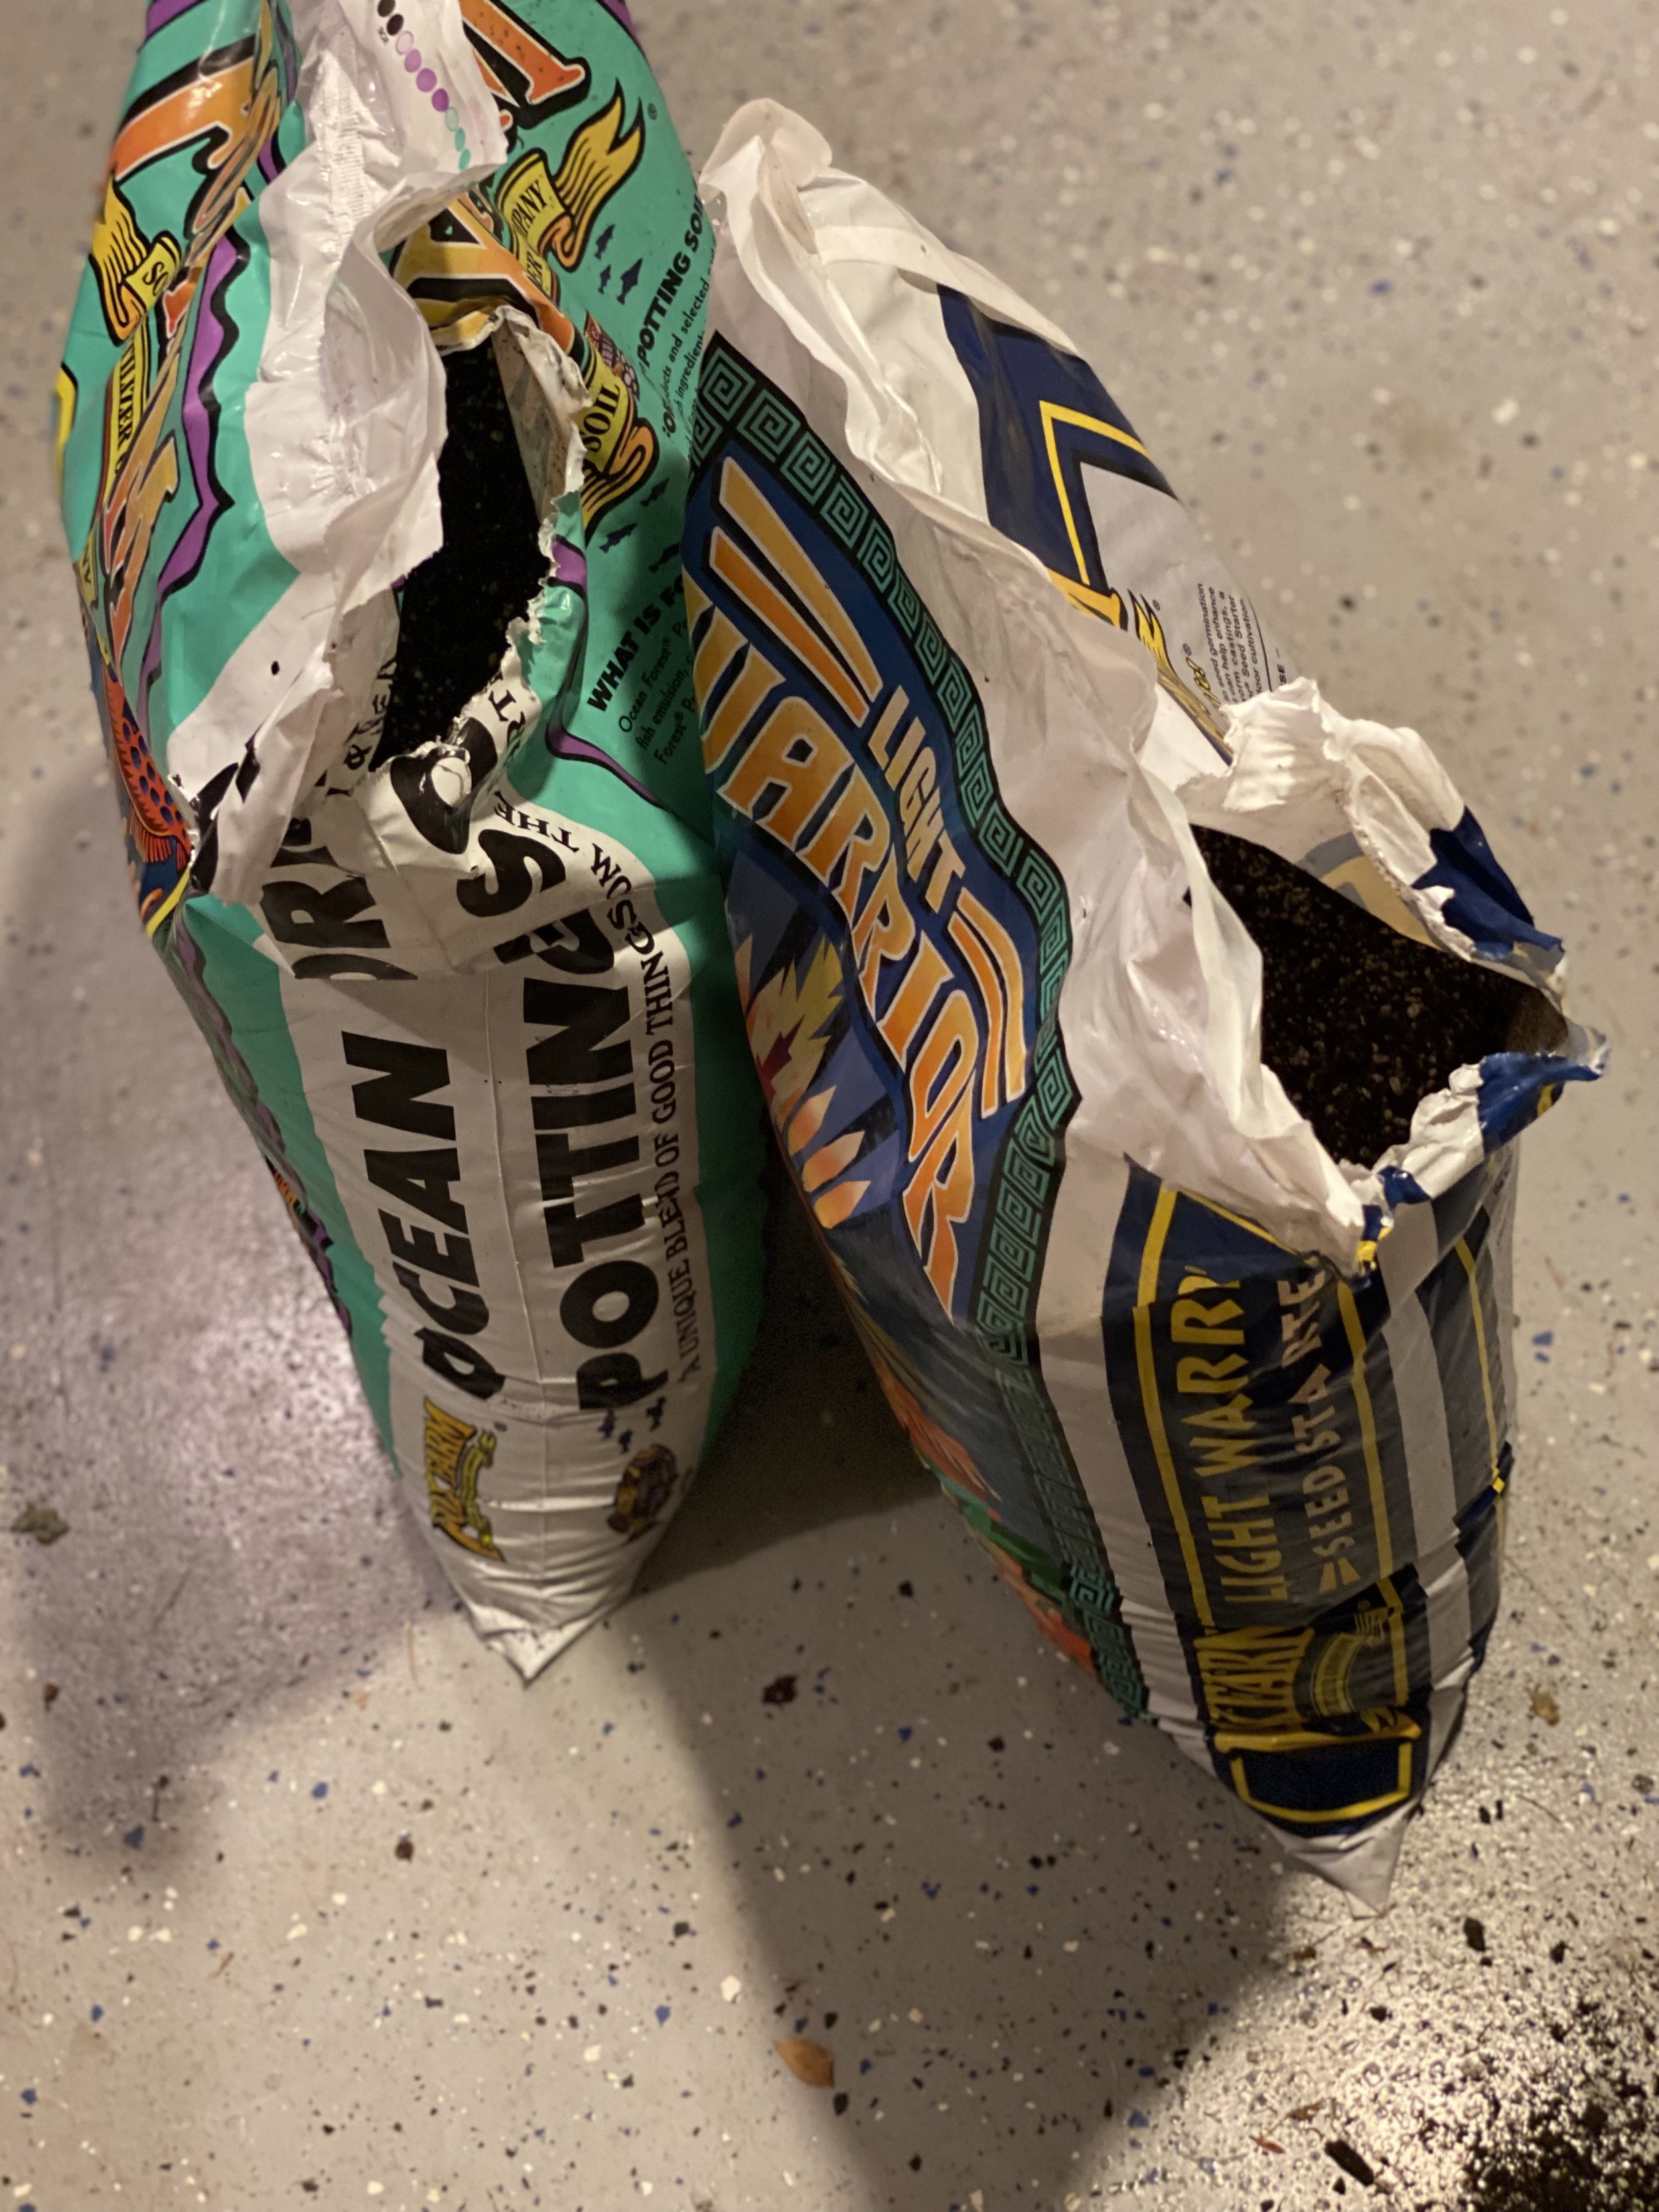
Seed Starting Mix (I used Fox Farm Light Warrior)
Pre-Amended Potting Soil (I used Fox Farm Ocean Forest)
pH Adjusters (General Hyroponics pH Up/Down, or distilled white vinegar)
Plastic Wrap
Binder clips
Grow Lights (could be a basic LED grow light, a midrange LED grow light, or a more advanced grow light system (use coupon code “THUNDERBIRD” for 15% off)
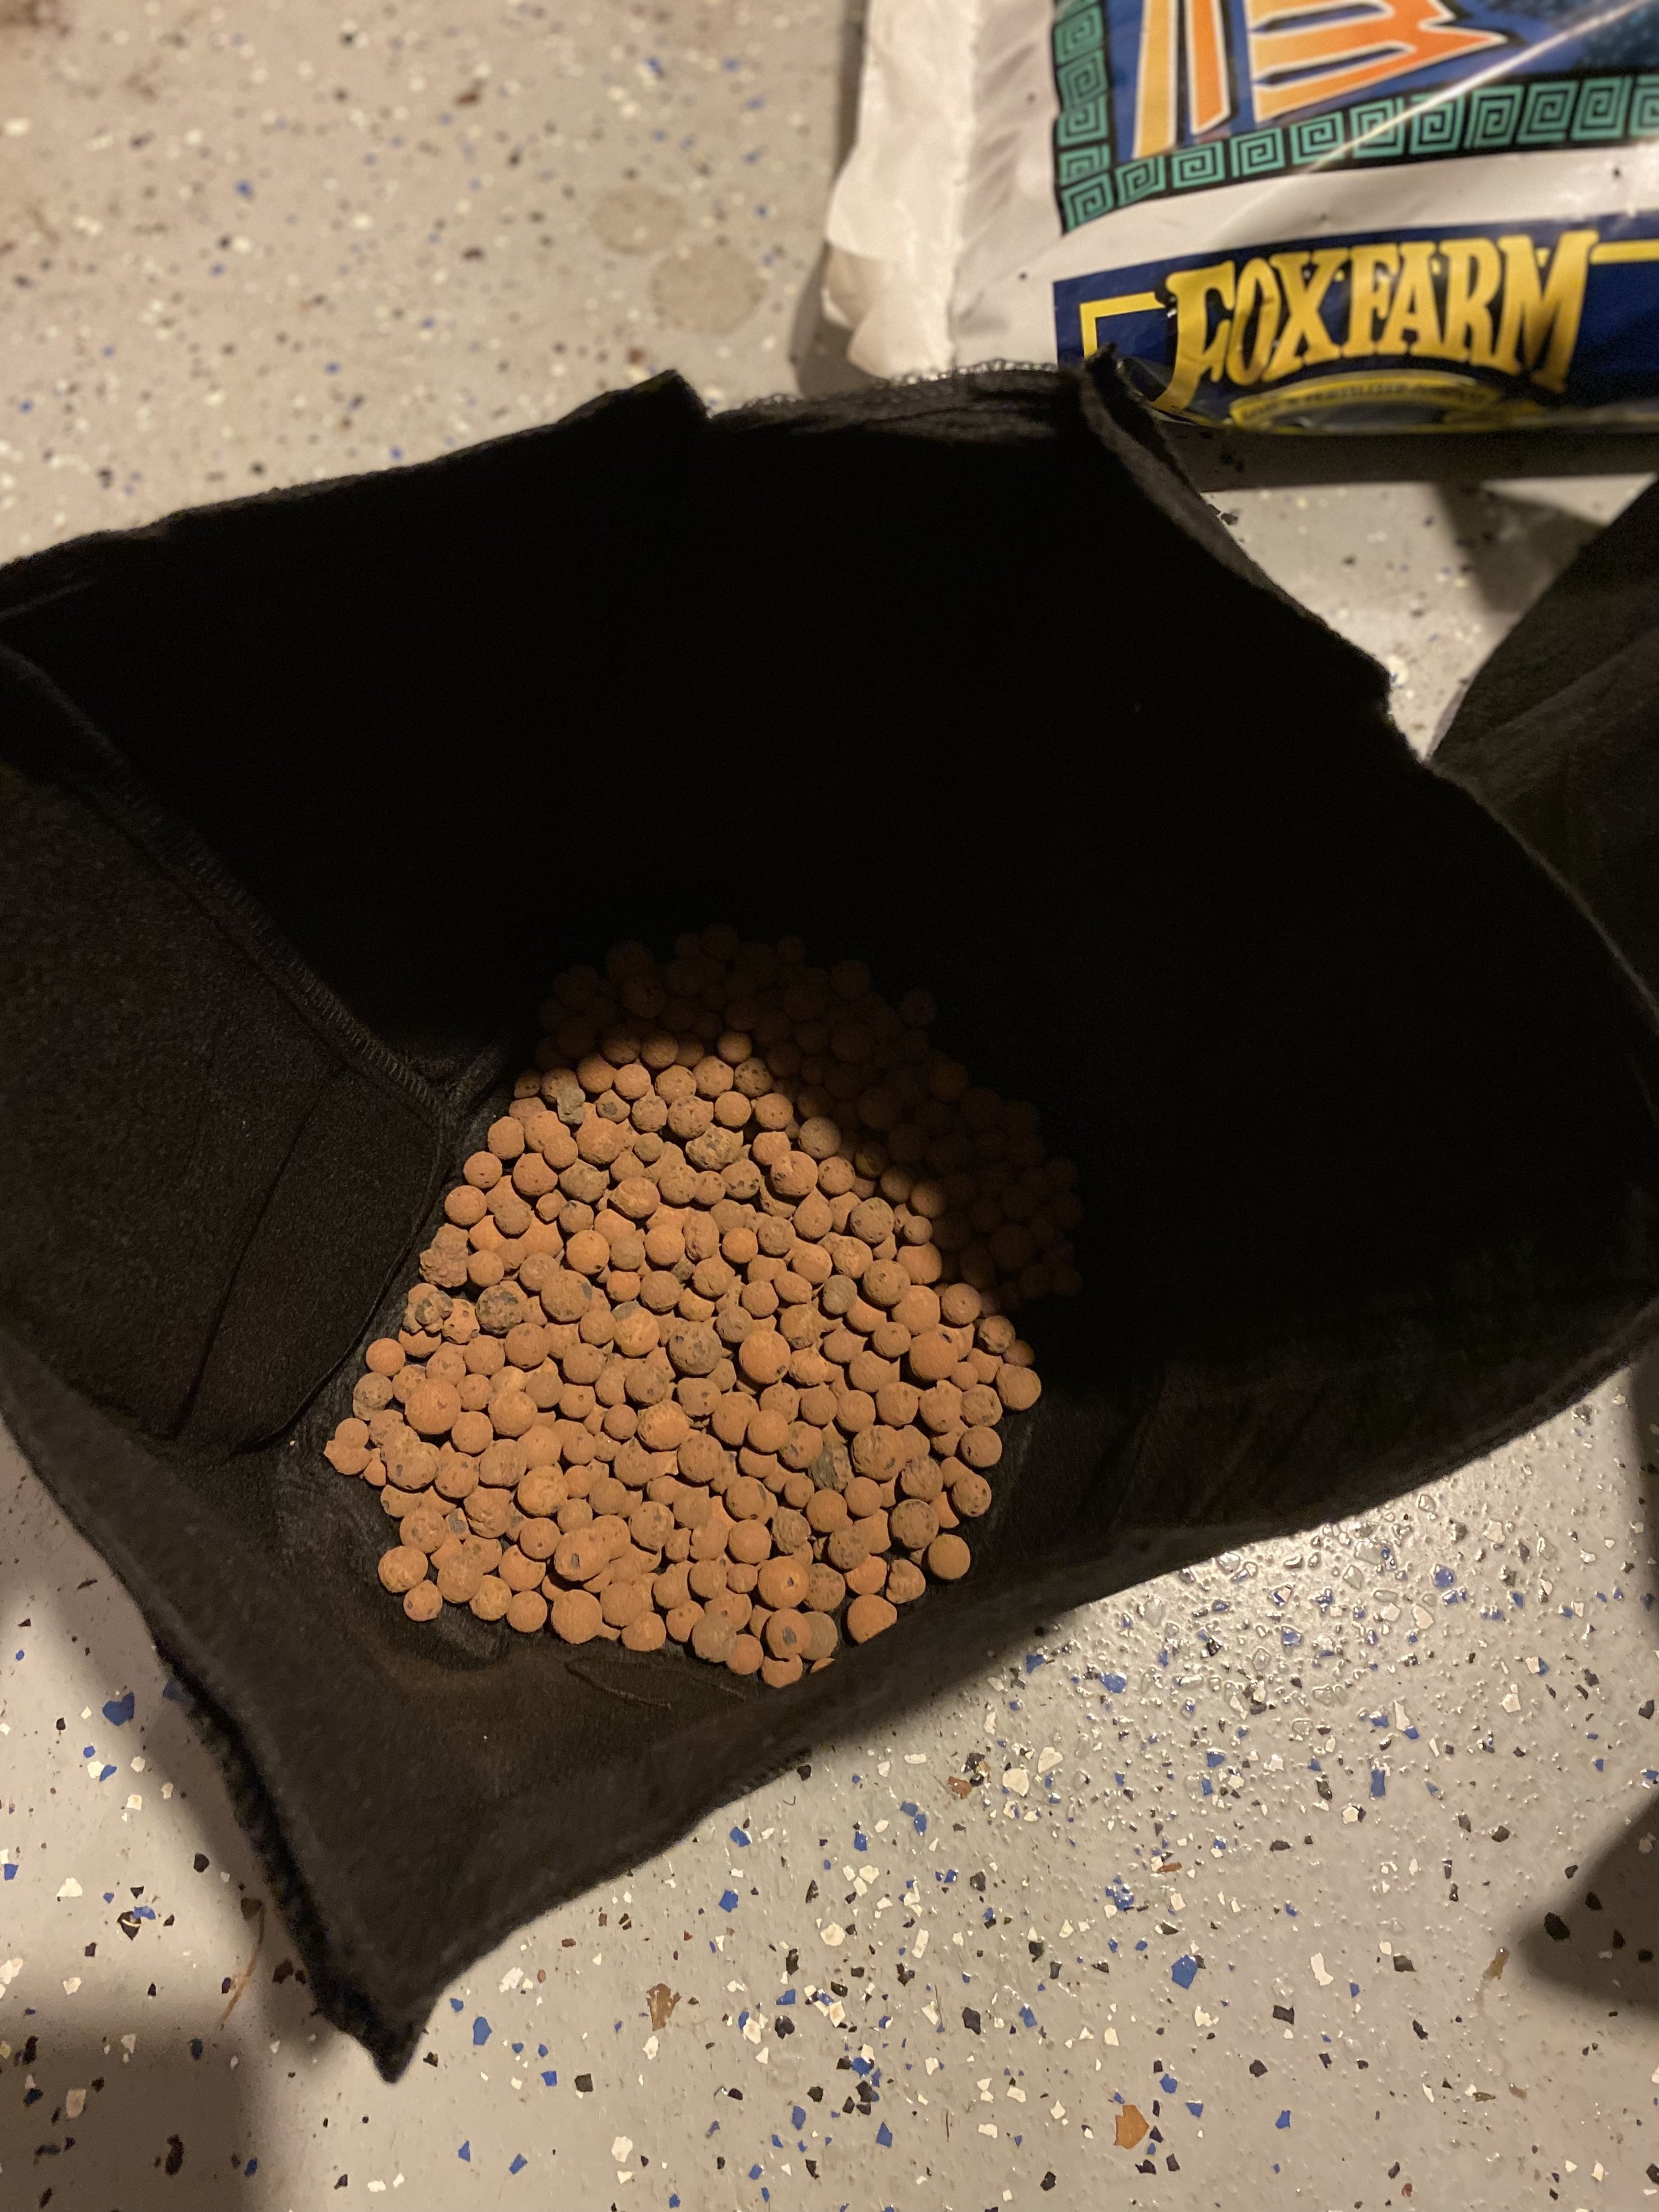
Hydroton clay pebbles (optional)
Seedling Heat Mat and Thermometer (optional)
IMPORTANT: You’ll find some videos online (like this one from Homegrown) that recommend first planting germinated seeds in Solo cups and then transplanting them to larger pots or grow bags … but this is only for photoperiod plants. I accidentally did this with my seeds and the transplant process either killed or at least stunted my autoflower plants’ seedlings, which aren’t as robust and don’t have as much time to recover from the stress of transplanting. Plus, it’s an annoying extra step.
Having tried it both ways, I highly recommend planting germinated autoflower seeds directly into the pot or grow bag that they’ll live in forever. You can see the side-by-side comparison below.
Step 1: Prepare Grow Bags
To get started, add a 2-inch layer of Hydroton to the bottom of your grow bags (optional, but helps strike a balance between good drainage and moisture retention). Fill your bags most of the way with Fox Farm Ocean Forest super soil (a favorite among growers you’ll see abbreviated as “FFOF”).
Don’t press down or pack the soil in; keep it light and fluffy. One great feature of this soil is that it is resistant to damping off, mold, and fungus, which can cause disease and other issues throughout plant development.
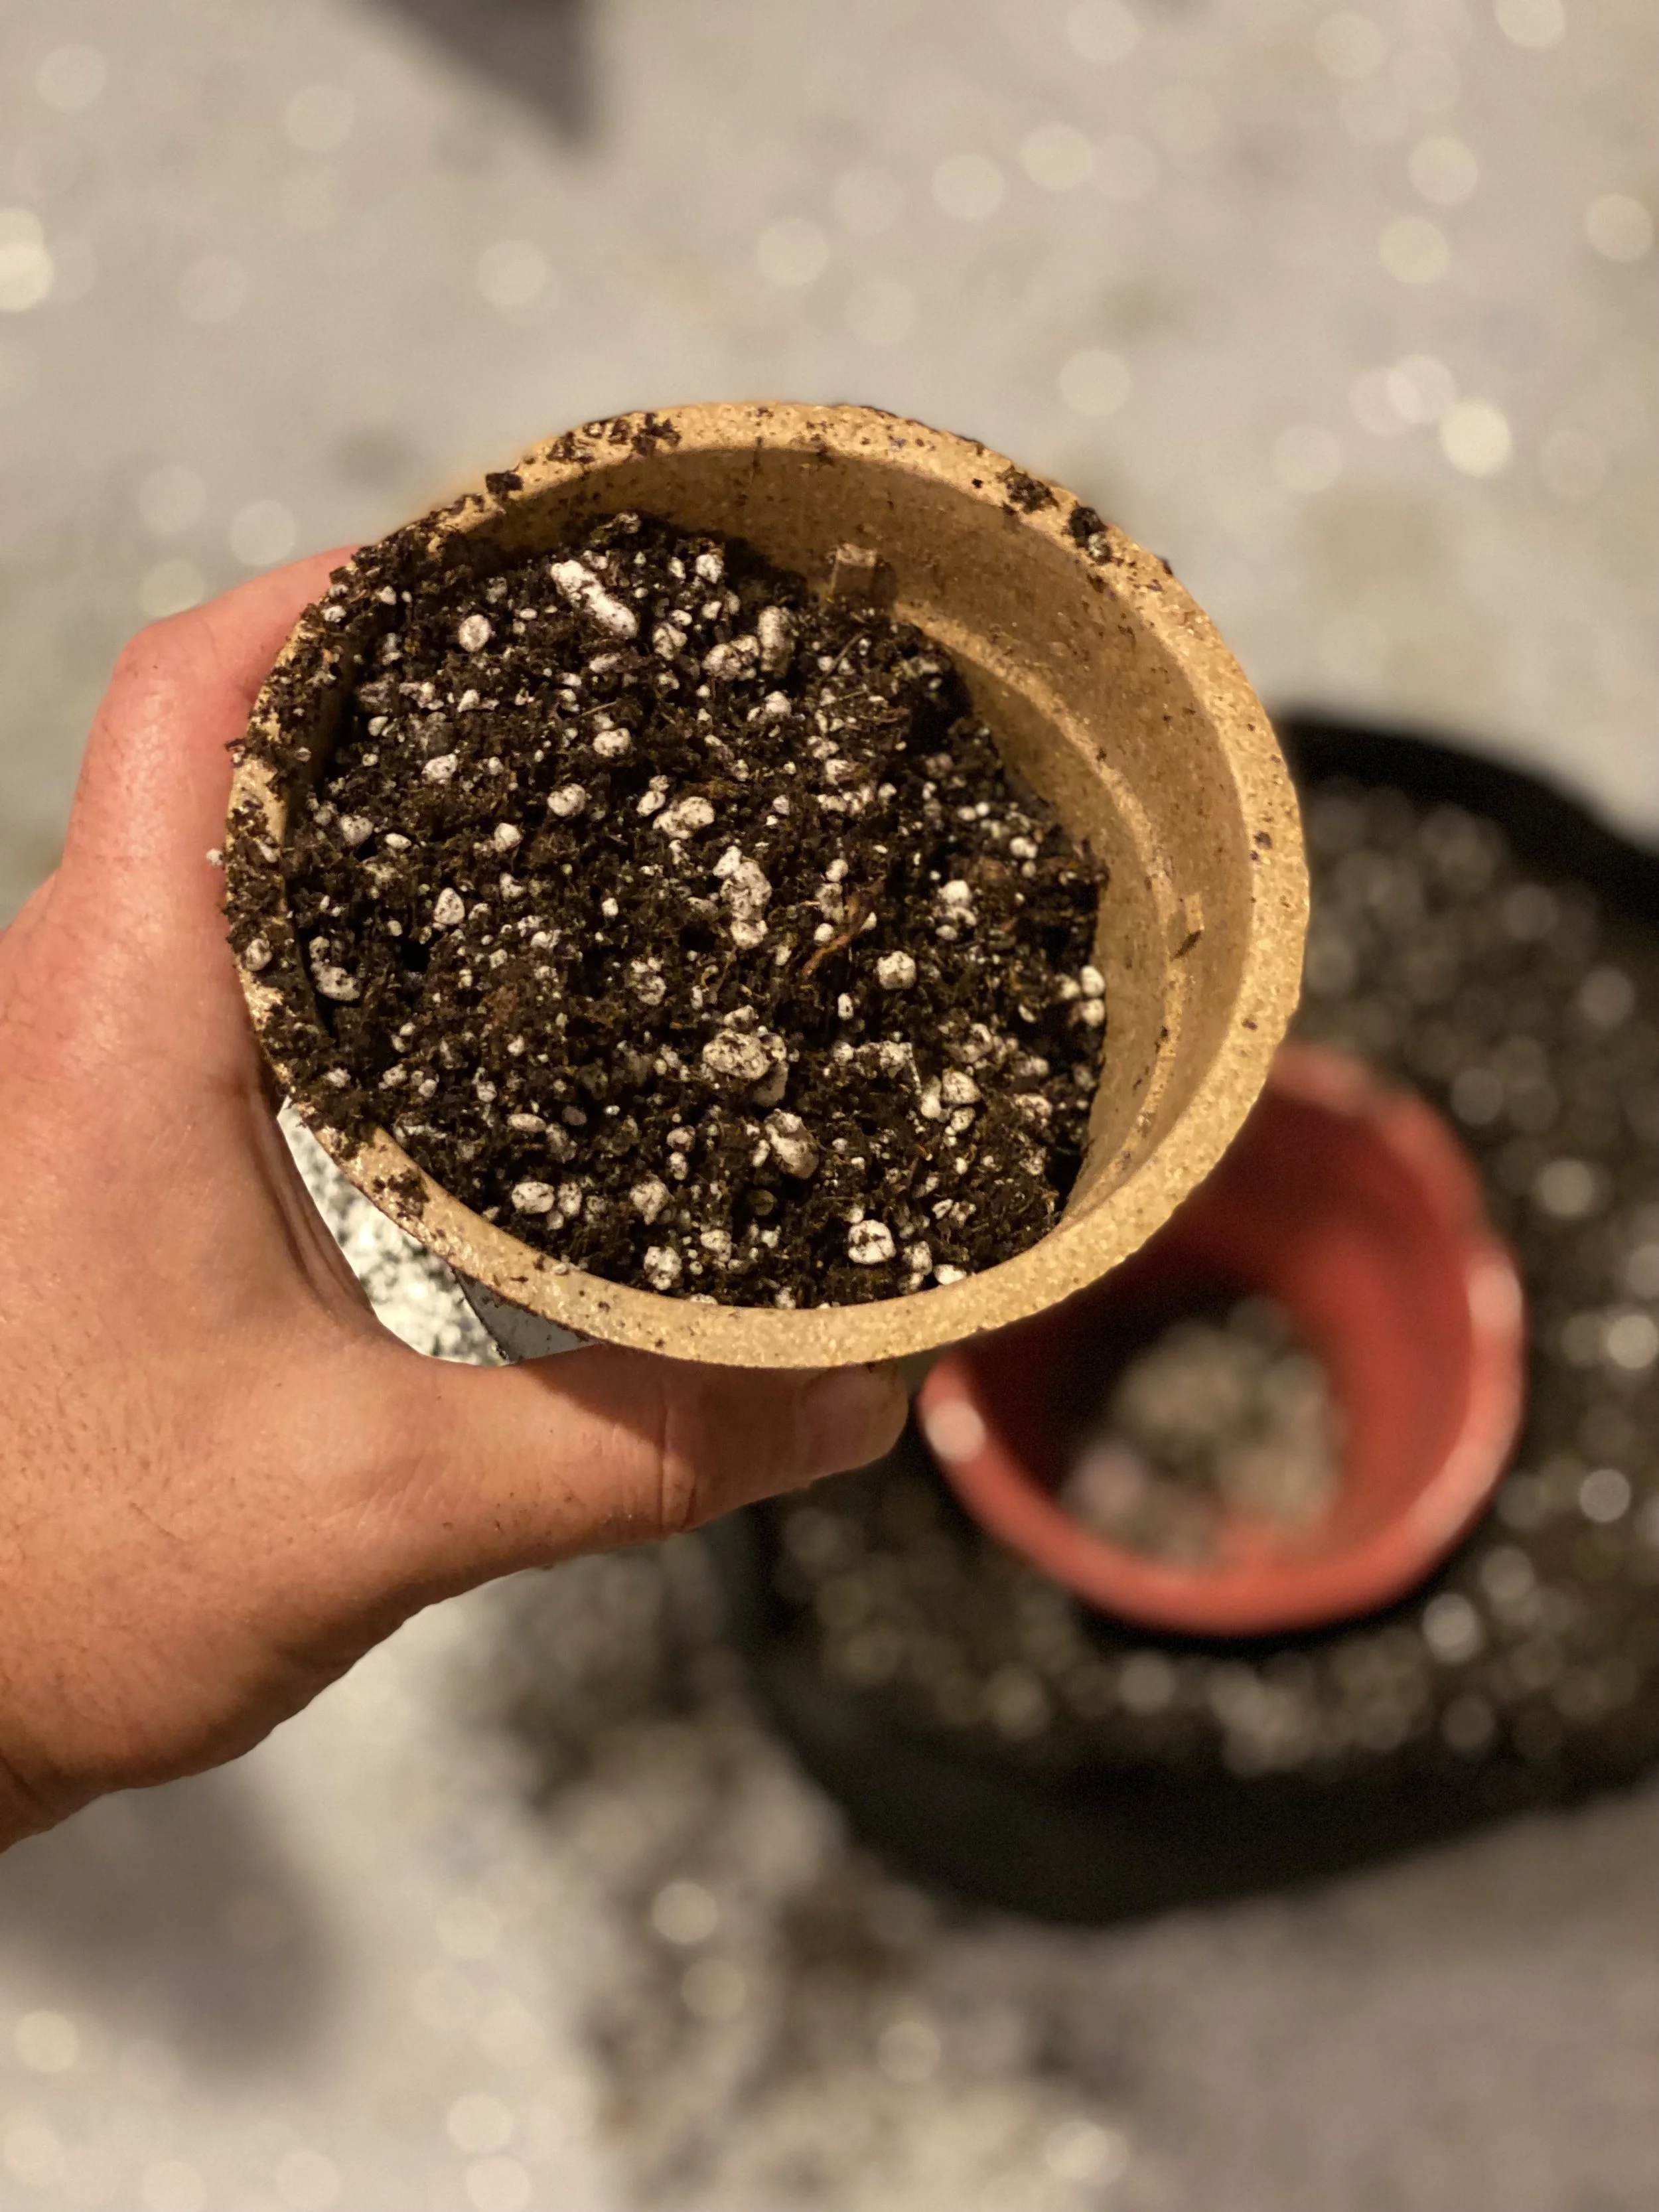
Step 2: Add Seed Starting Mix
Scoop out a small bowl’s worth of FFOF and in that center hole add in some of the Light Warrior seed starter mix. This stuff is a little lighter and has fewer nutrients, so it won’t “burn” the tender seedling. But as the taproot grows and the roots begin to establish and stretch out, they’ll reach the “hotter” FFOF mix once they’re strong enough to handle it.
Step 3: Prepare pH-Adjusted Water
You can take your chances with tap water or distilled water, but it may not be in the ideal pH range of 6.0 - 7.0 that autoflower cannabis plants require. Proper soil pH is what determines how well your plants can uptake nutrients, and anything too far out of the optimum range will be like they’re drinking through a pinched straw.
Use your properly calibrated pH meter to test your tap water. Mine was in the 7.5 range, so I needed to adjust down. You can use professional pH products but I just added a little distilled white vinegar to make the water more acidic and bring the pH down. You only need a tiny bit, like 1-2 ml per gallon of water, to shift the pH, so go slow and see what it takes to get close to that sweet spot of pH 6.5. You’ll be using pH-adjusted water throughout the grow process, so might as well start practicing this step (don’t make the mistake I did, thinking this was a complicated and unnecessary step; bad pH can lead to all kinds of problems for your plant).
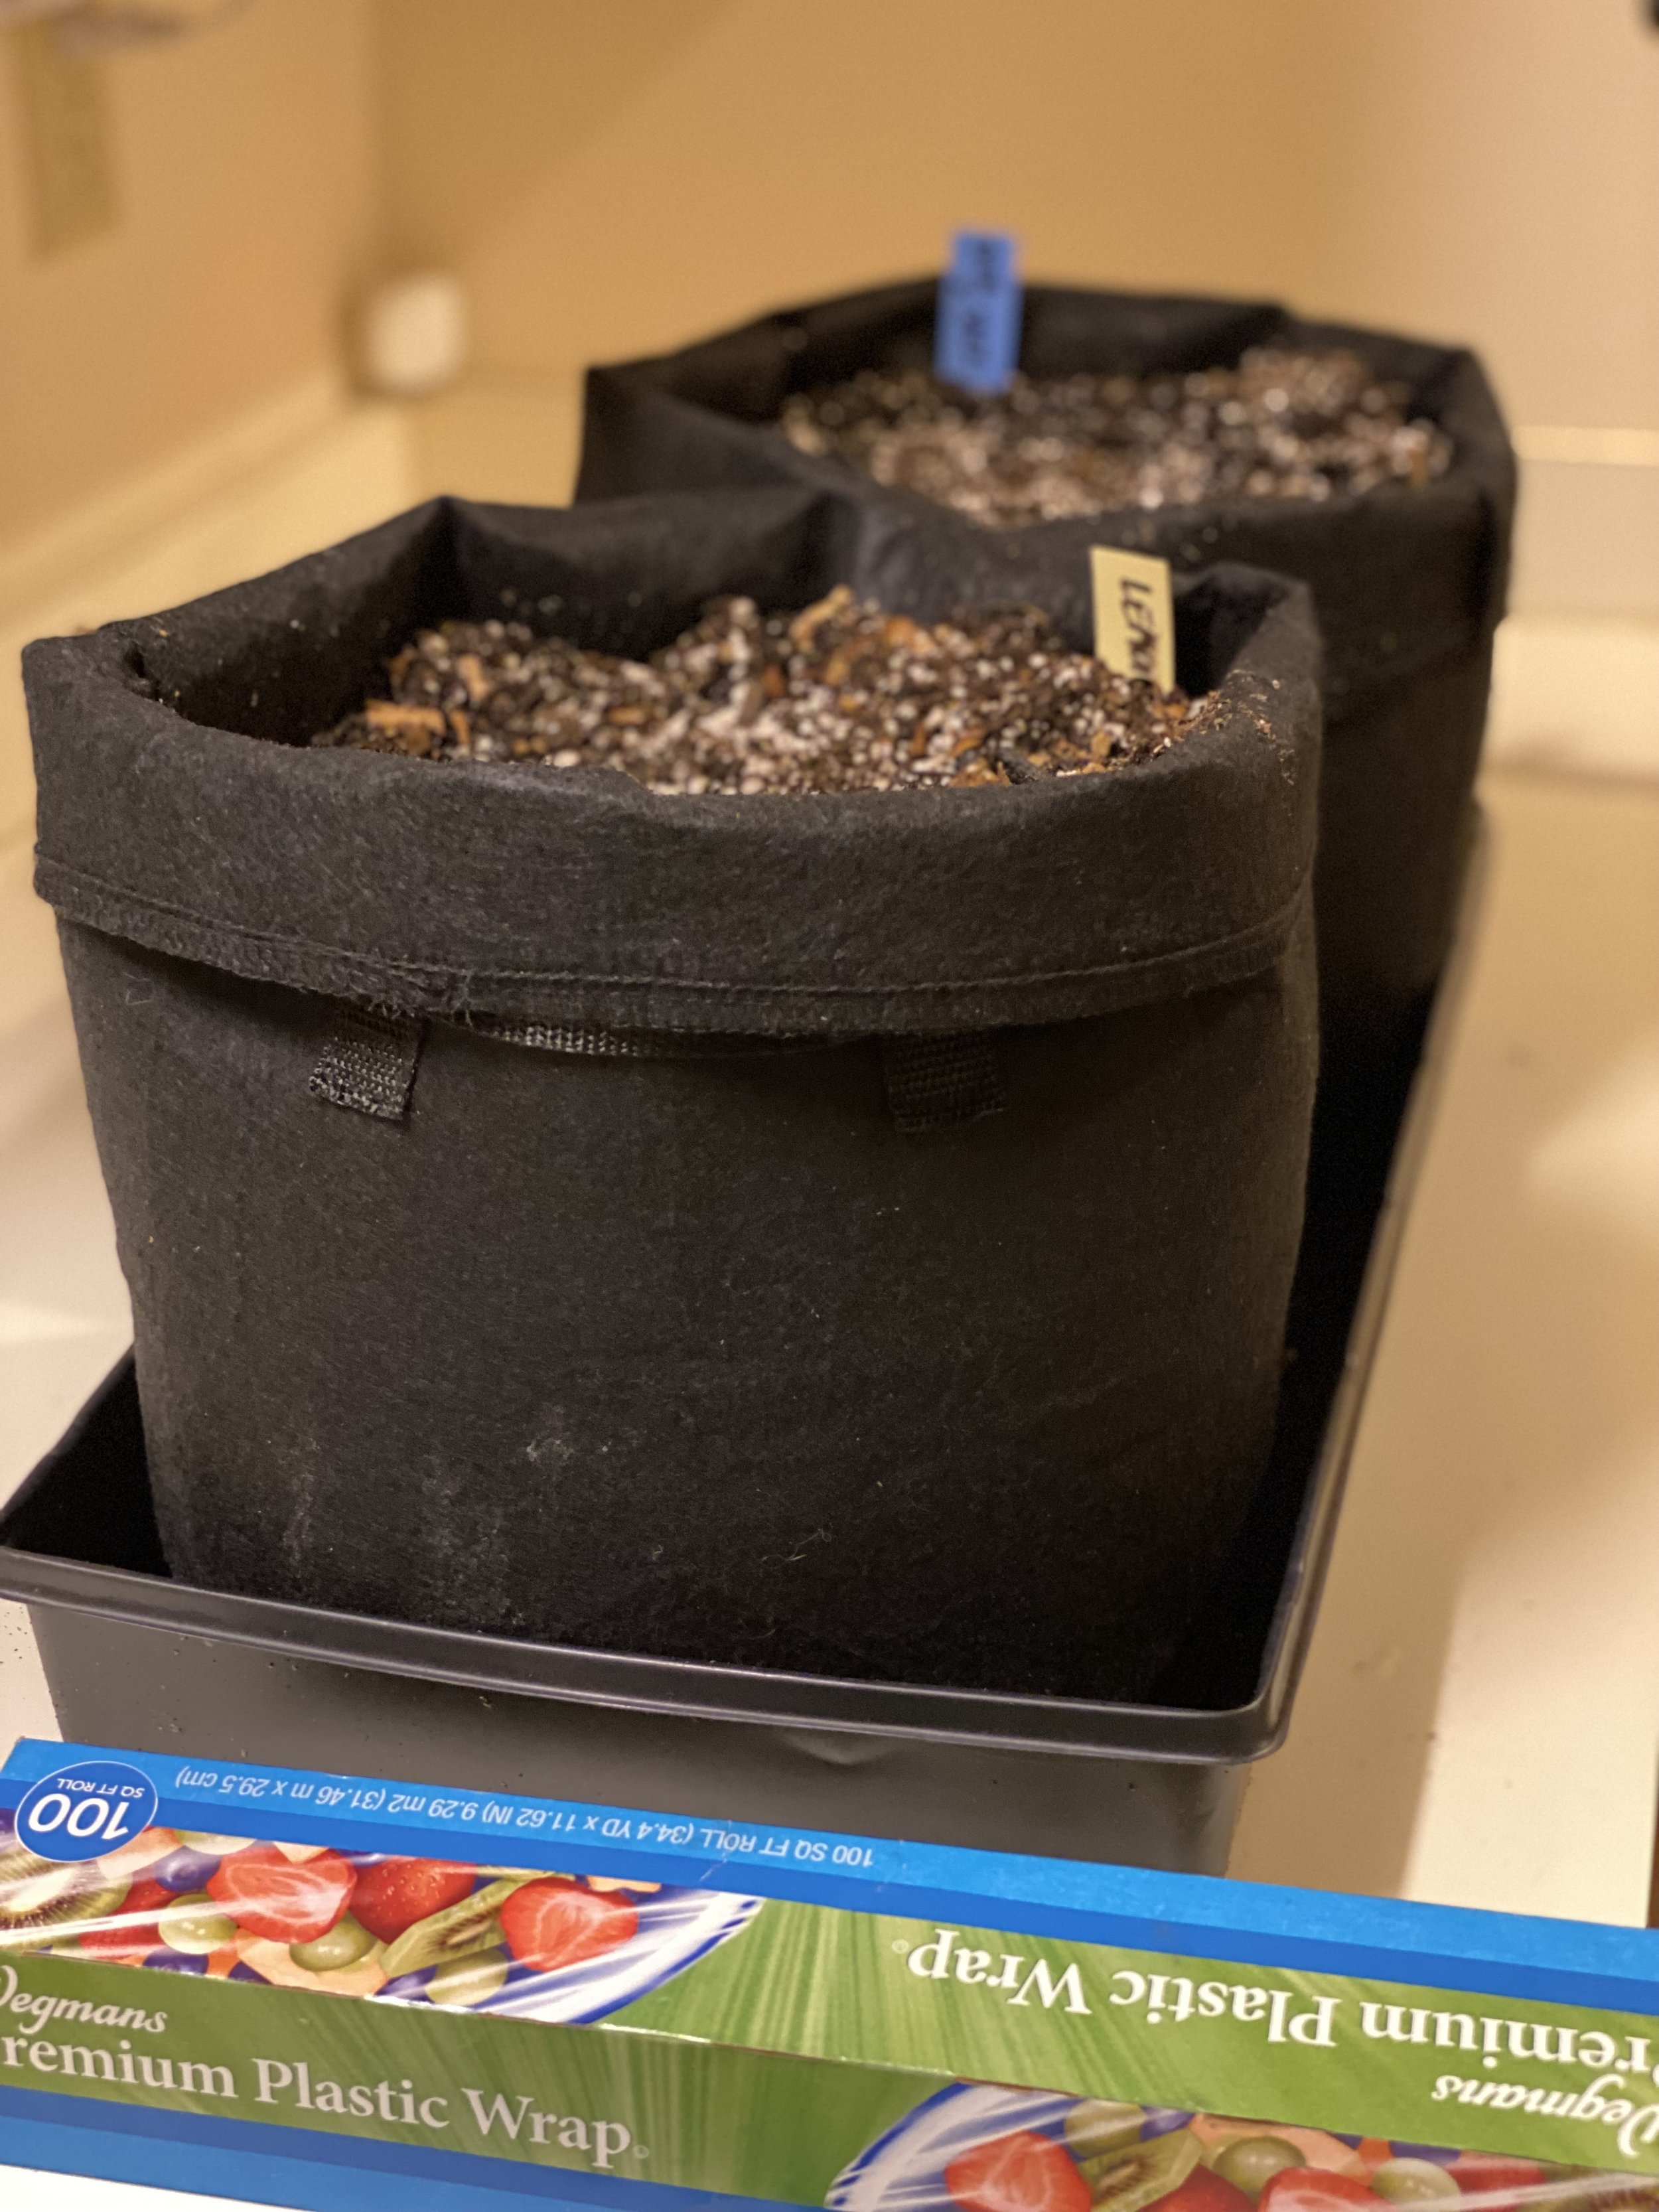
Step 4: Moisten Soil in Grow Bags BEFORE Adding Seeds
Saturate your grow bags with this pH-adjusted water to moisten the grow medium. Do this before adding the seeds, or else you risk disturbing the seed or having it float away.
Step 5: Add Germinated Seeds
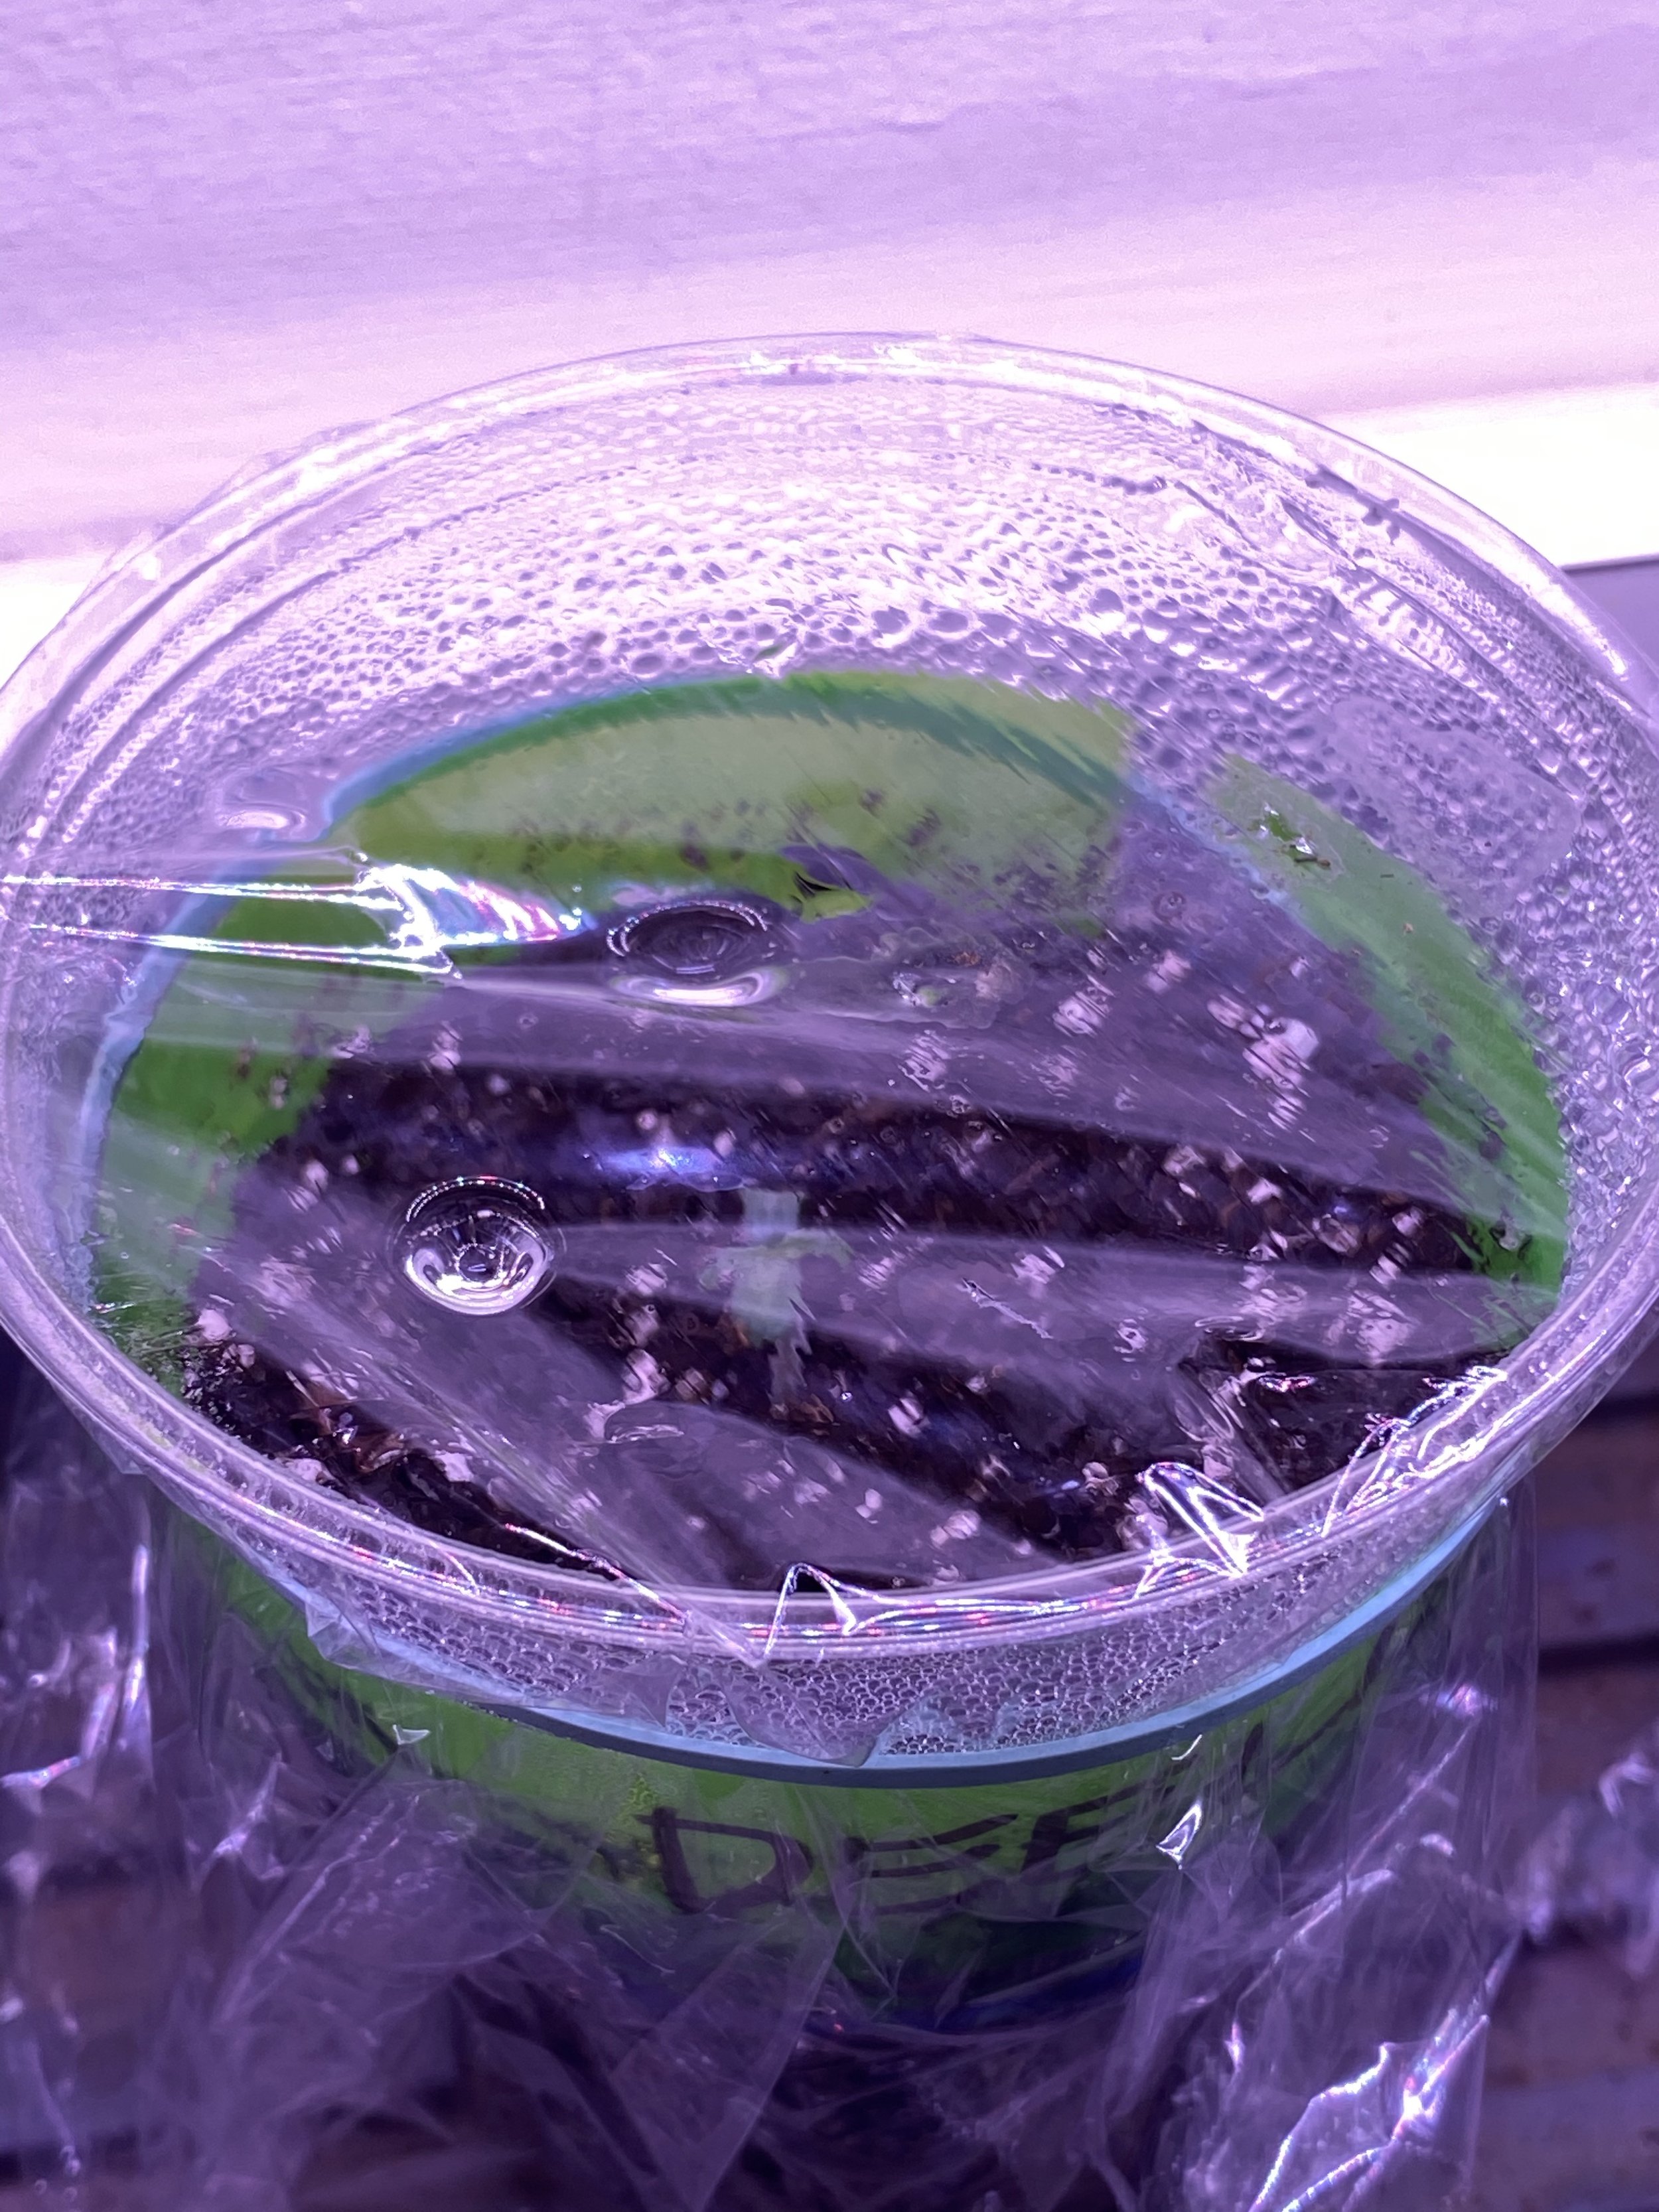
Gingerly place one germinated seed in the center of each wet grow bag (the area with the Light Warrior Seed Starting Mix), taproot facing down. Just barely cover it with soil. Make sure you continue to track which seeds/strains are in which bags, adding plant labels to the bags or to the soil. Place plastic wrap over the top of the grow bag and secure with clips. Poke a couple of holes in it to create a nice warm terrarium kinda thing.
Handling Seedlings with Care: Protecting Your Young Plants
Once your seeds have germinated and tiny taproots have emerged, gentle handling is crucial. The seedling stage is when plants are most vulnerable, and rough handling can damage the roots, slow growth, or even kill the plant.
Here are some tips for handling seedlings safely:
Use tweezers or clean hands – If you must move a germinated seed, always use clean hands or sterilized tweezers to prevent contamination and stress.
Avoid squeezing the seedling – Gently grasp it by the seed casing or cotyledons (the first leaves), never by the stem or root.
Plant carefully – When transferring to soil, avoid pushing the seedling down into the medium. Instead, make a small hole first and gently place the taproot downward before covering it lightly.
Let roots establish before touching – Once planted, avoid the temptation to check or reposition the seedling. The roots need time to anchor properly, and any disturbance can cause stress.
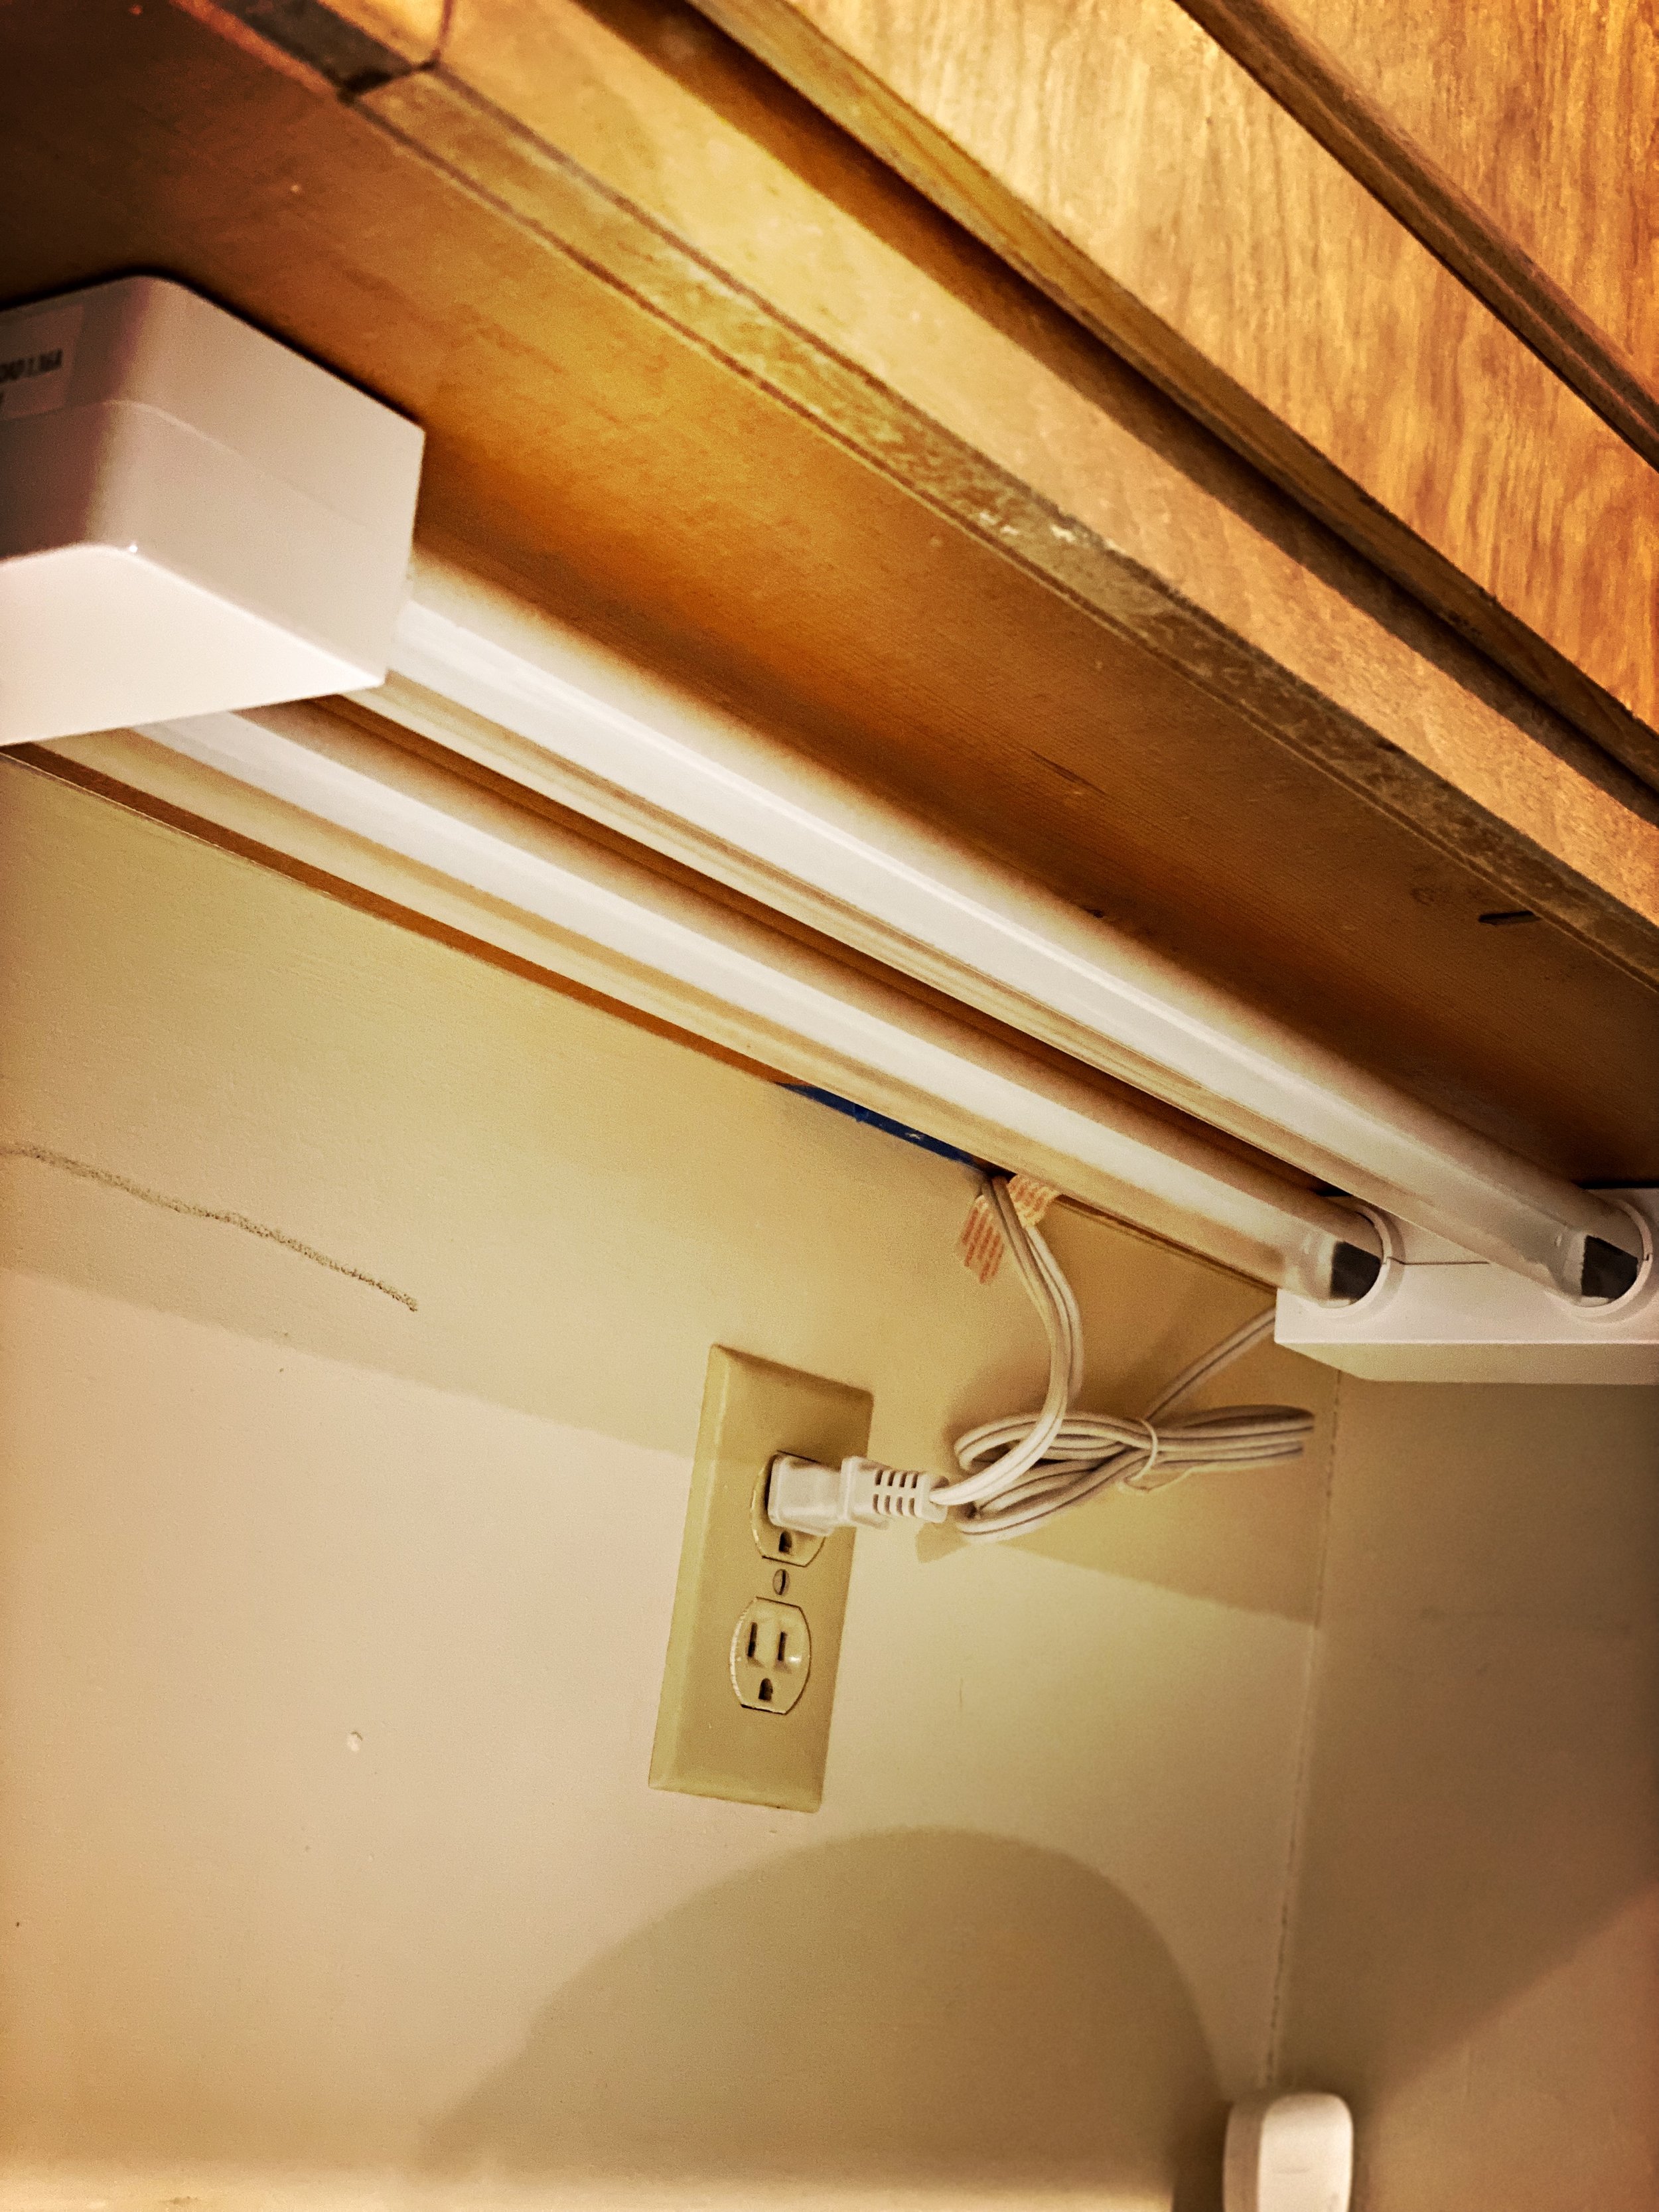
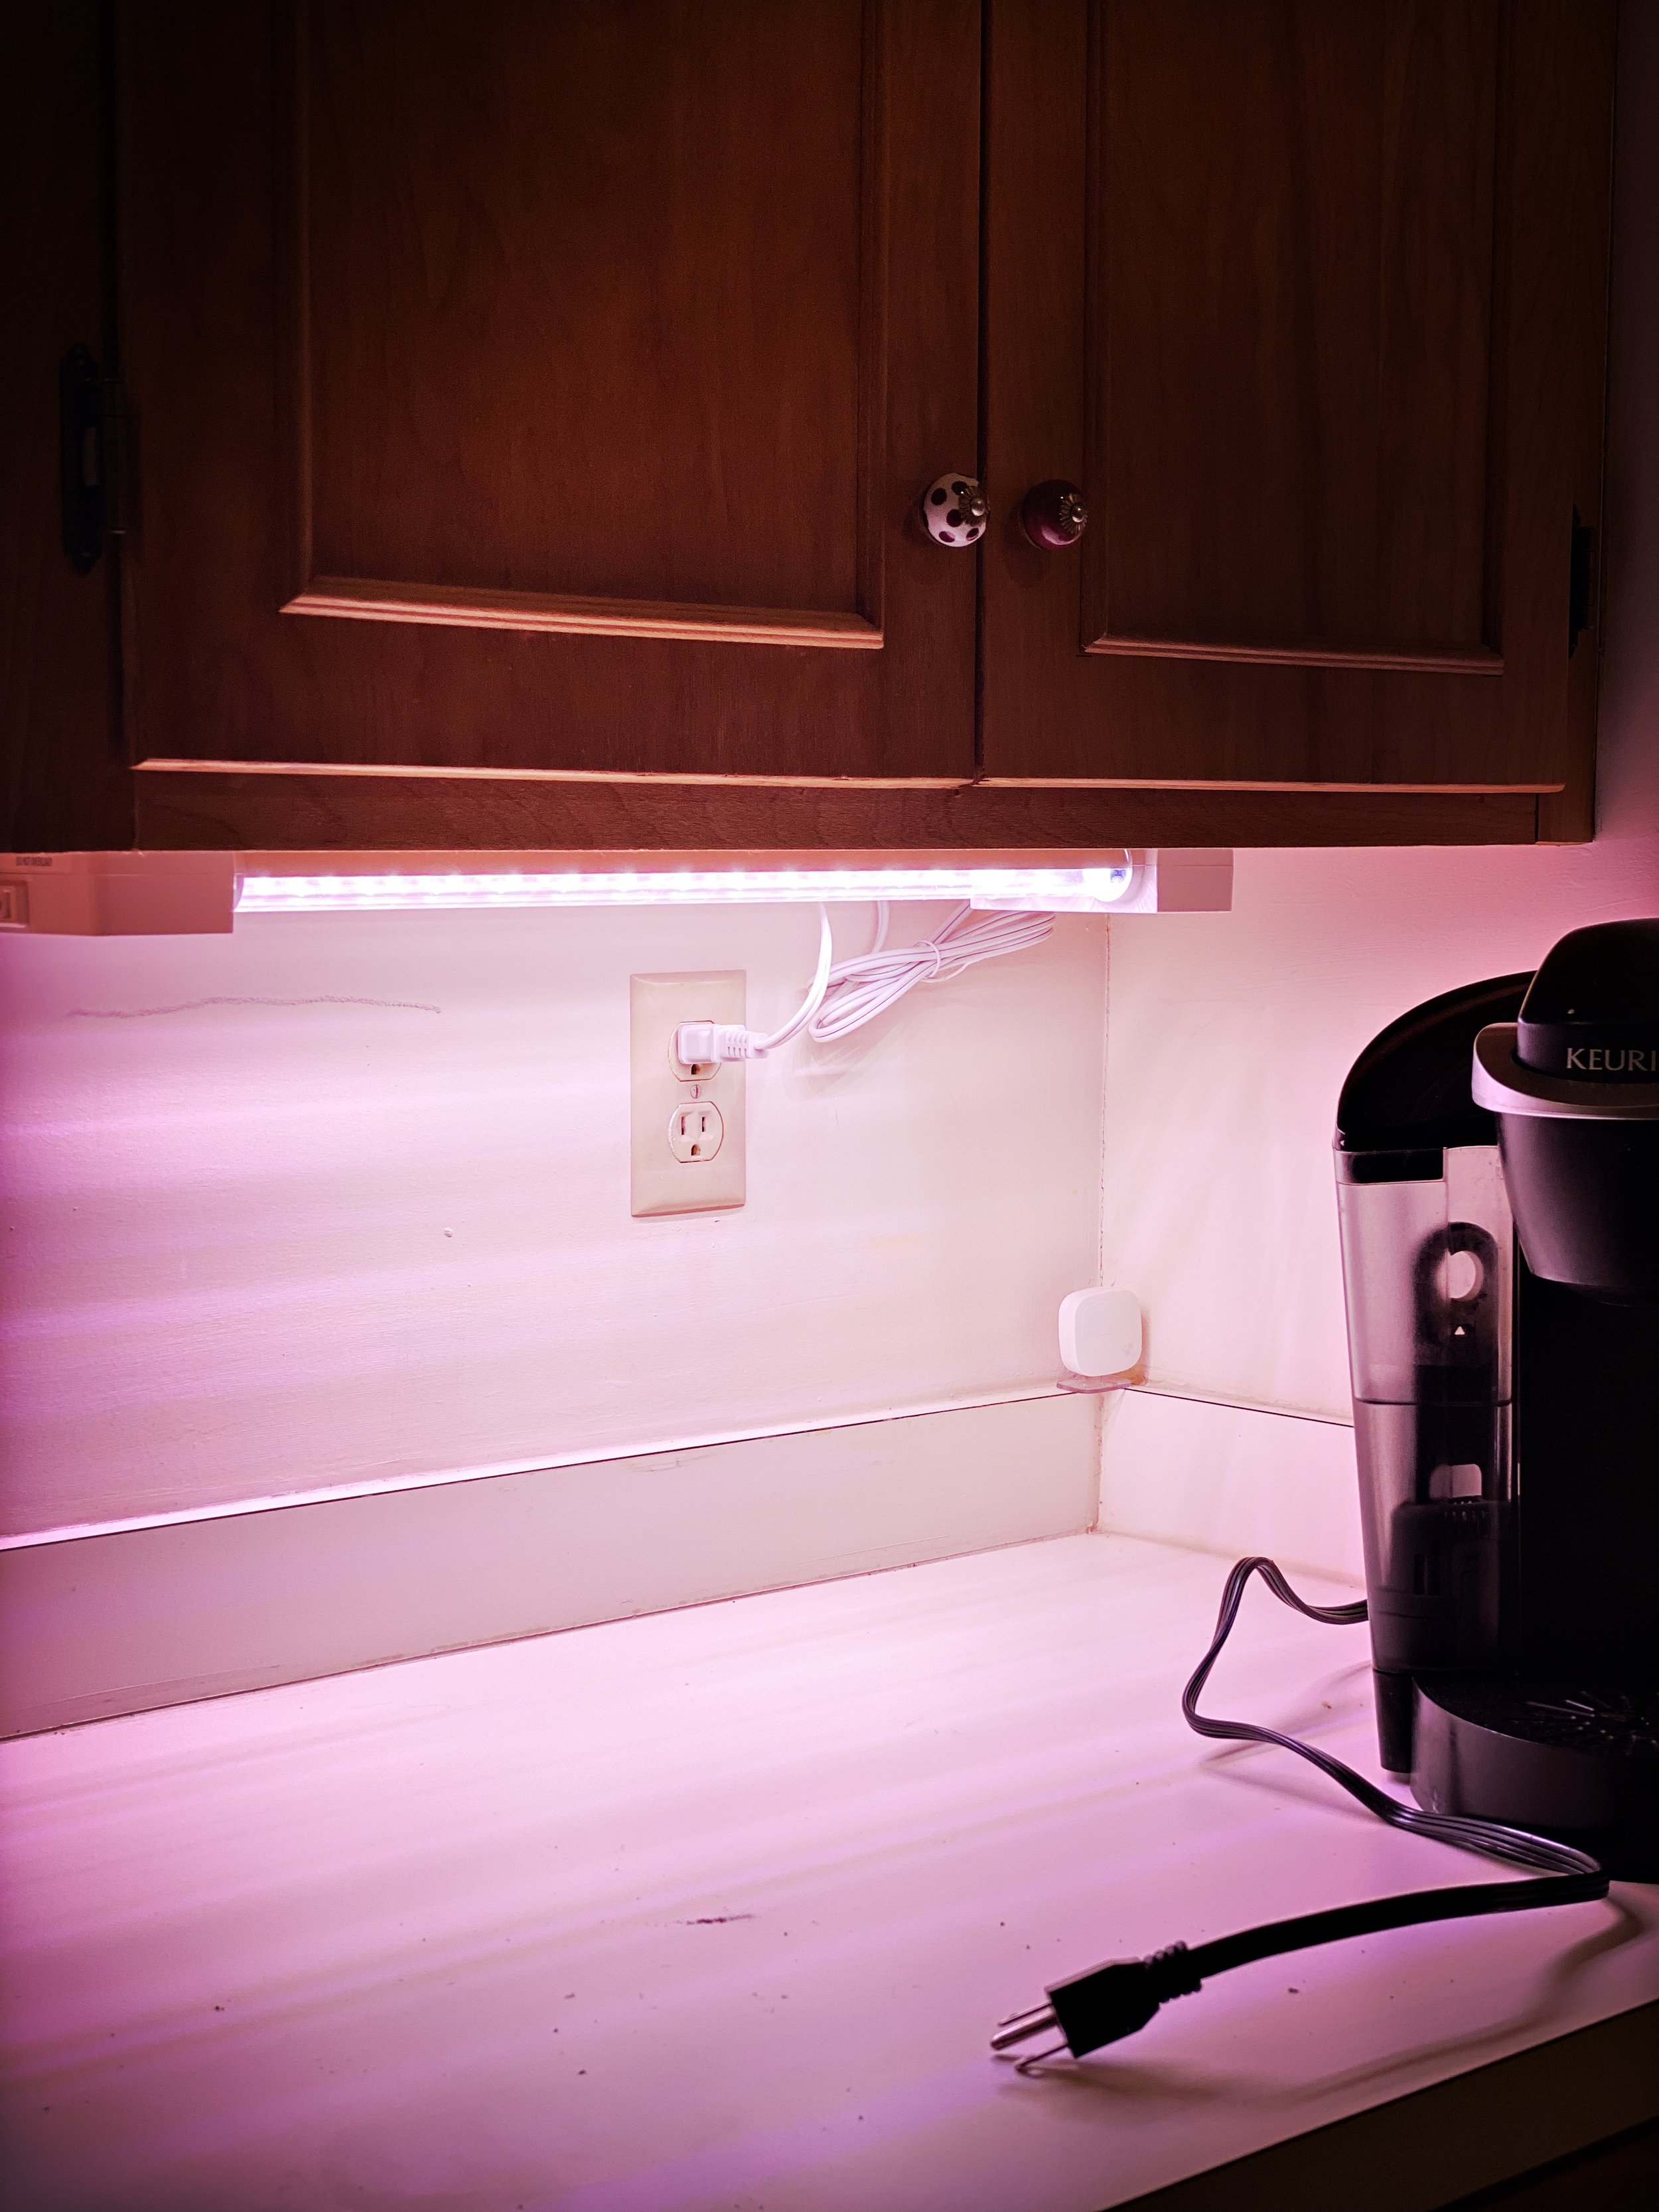
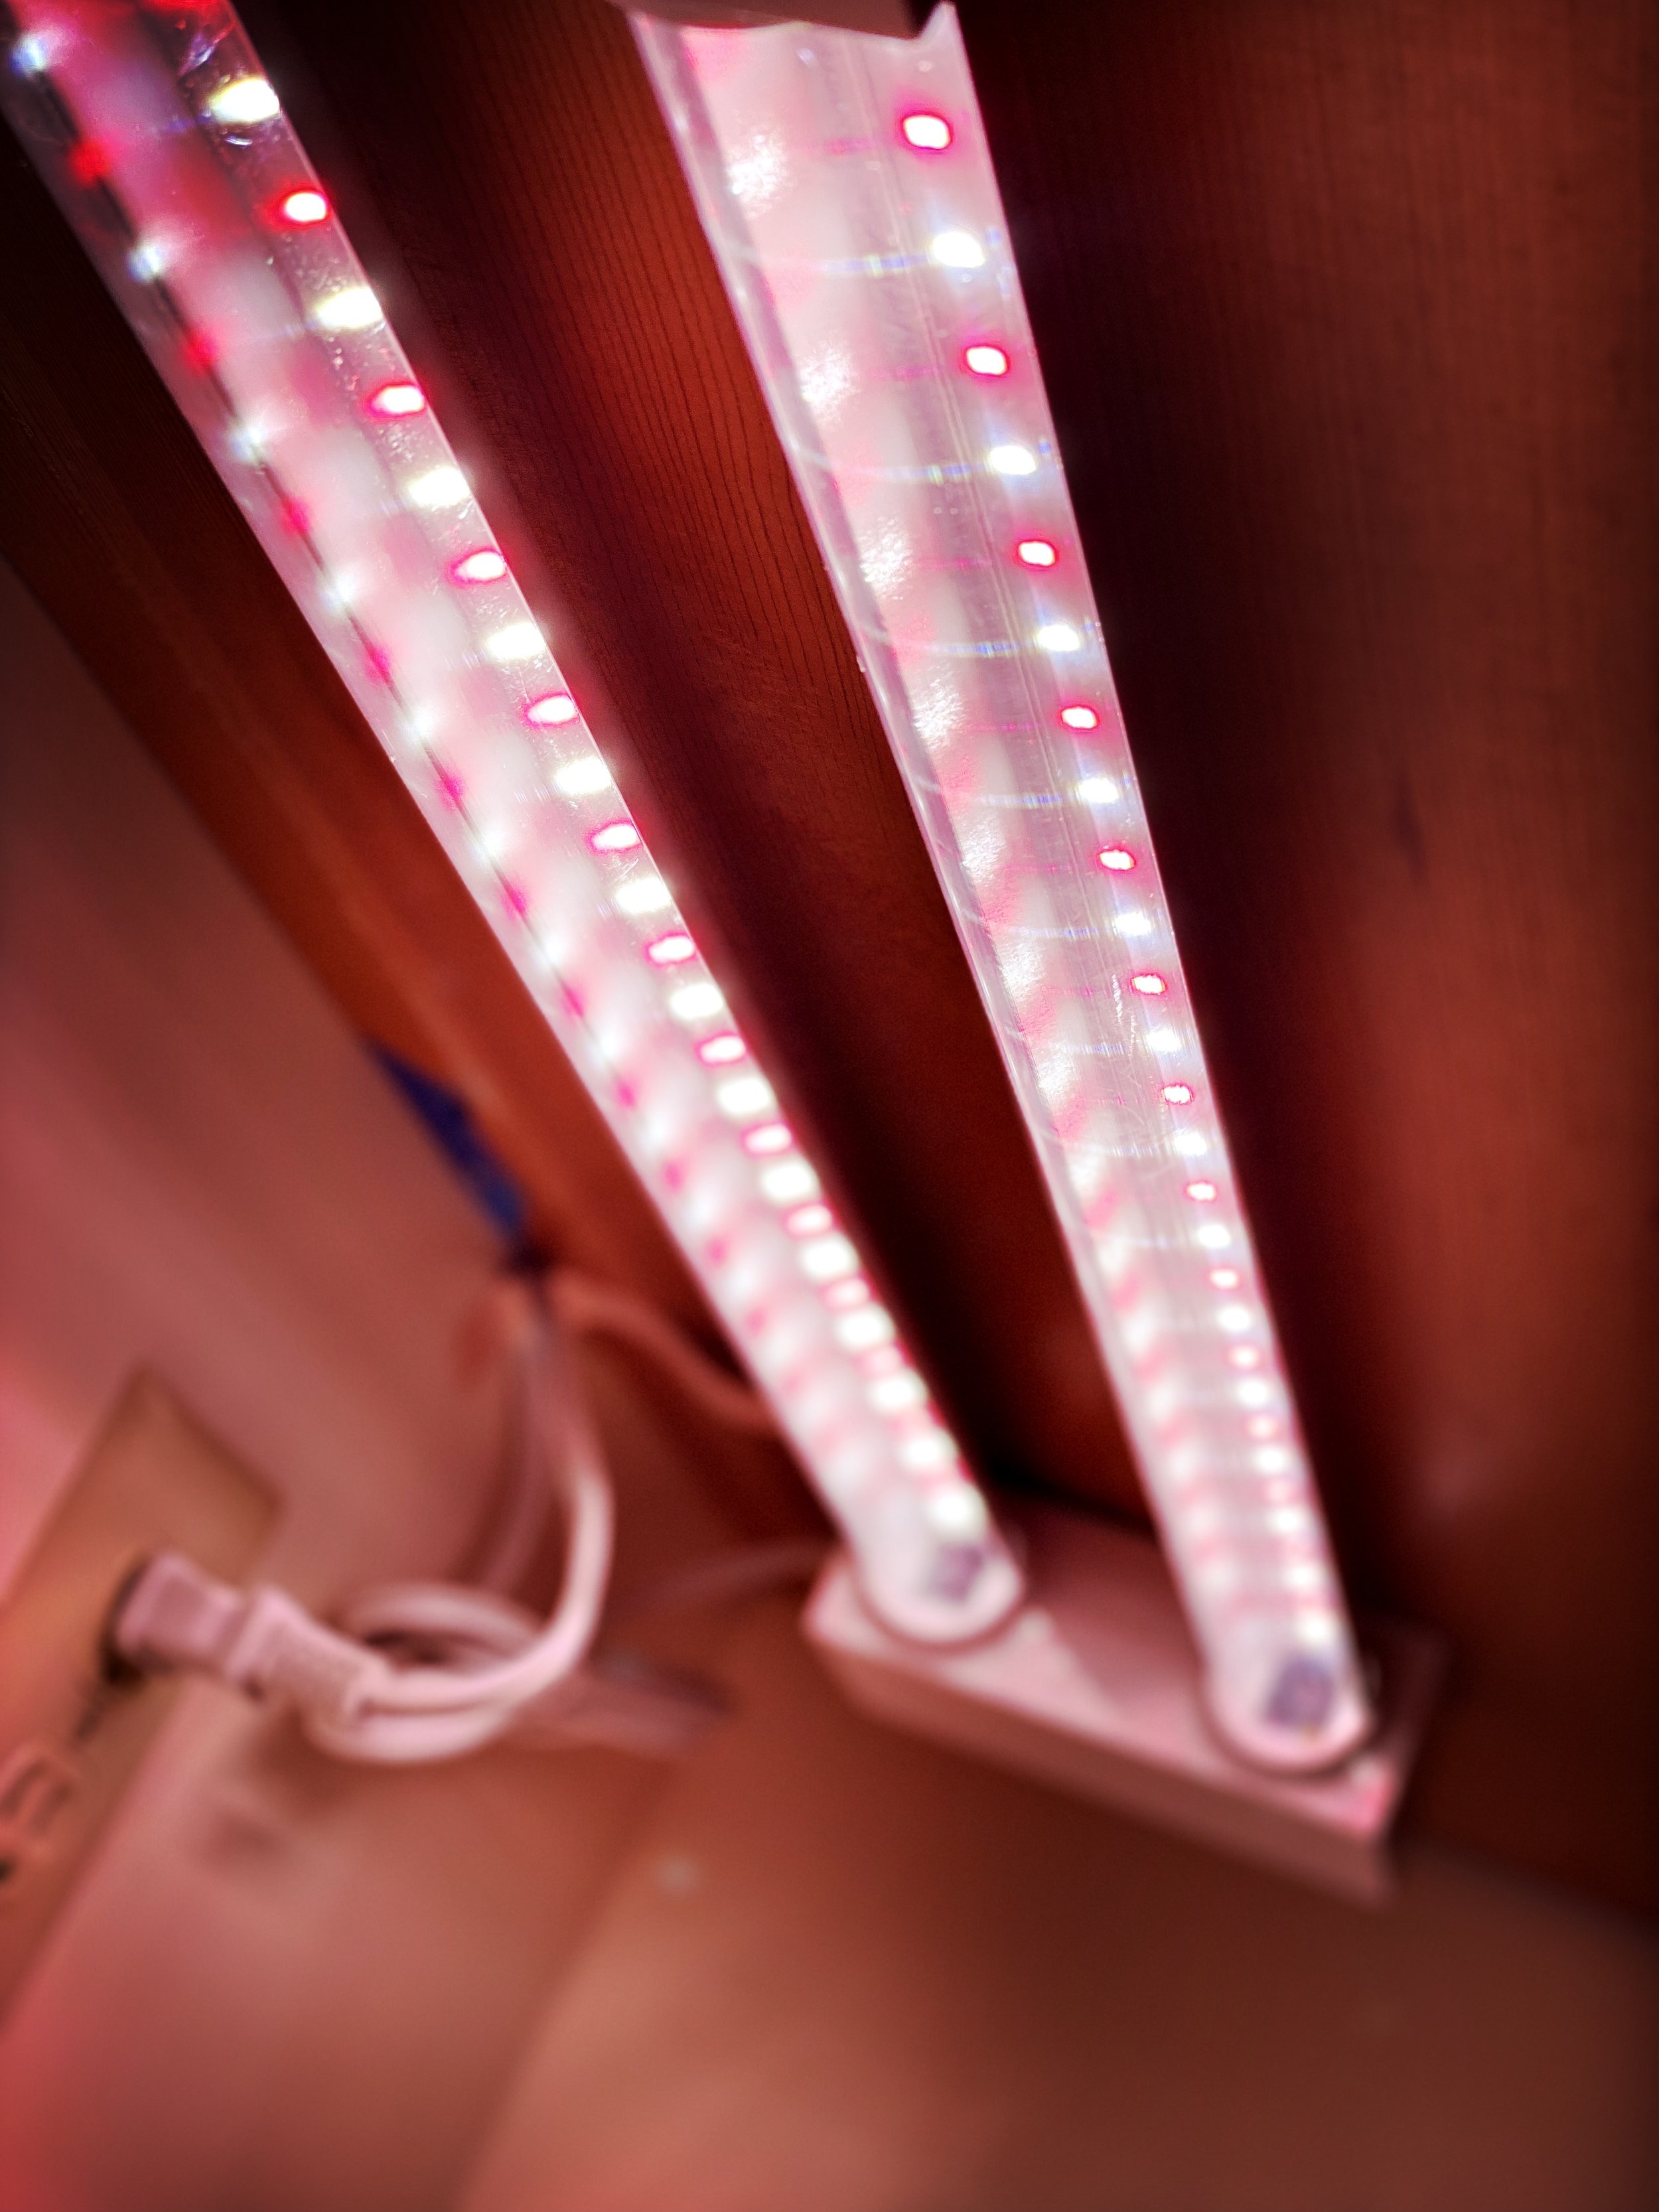
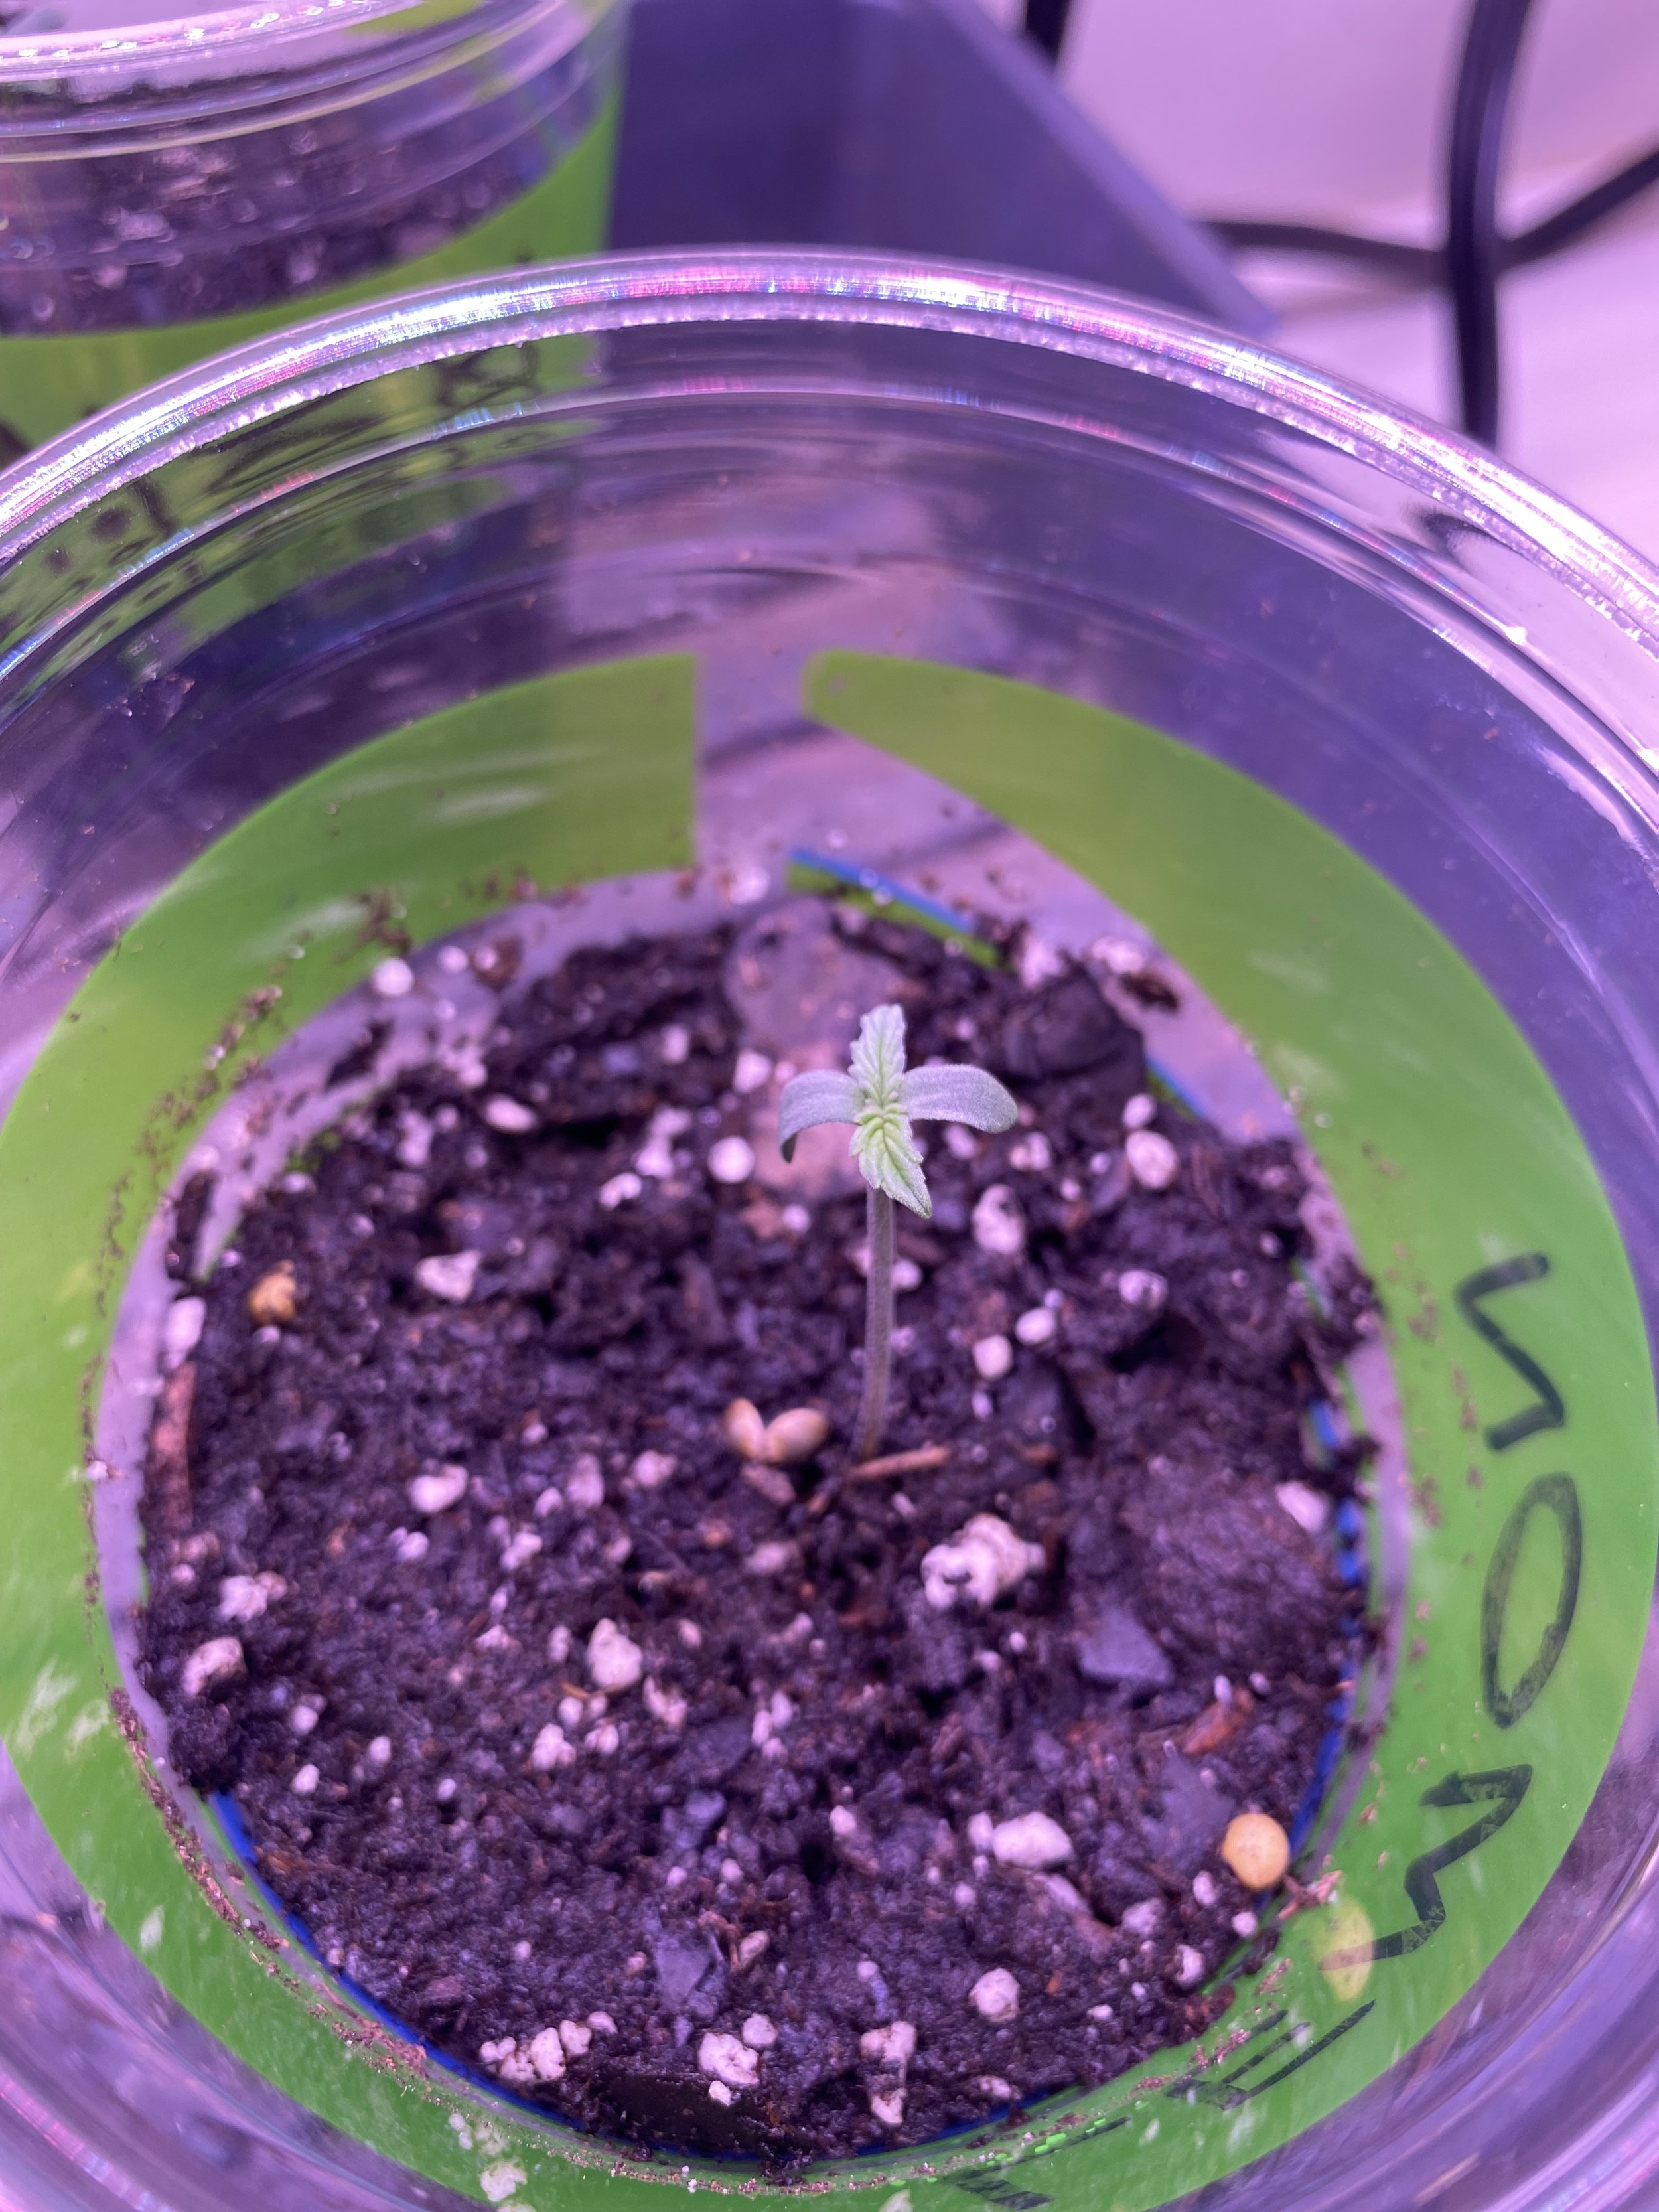
Step 6: Add Light
Place these grow bags under the LED grow lights turned on 24 hrs/day, with the soil about 8-12 inches away from the bulb. After about 48 hours, check to see if the seeds have sprouted. Once you see little green leaves poking out from the soil, remove the plastic wrap from the bags. Seedlings crave warmth at this stage, so if the bags are in a cooler spot consider using something like this Seedling Heat Mat and Thermometer setup to warm it up a bit.
Step 7: Leave Them Alone!
Seedlings need VERY little at this stage other than 24-hr light. If you think you should water them, probably don’t! If you think you should feed them with nutrients, probably don’t! The magic is in the seed itself and the existing wet nutrient-rich soil in the bag will be sufficient for 2-3 days. Only give it a very little bit of pH-adjusted water every few days, after the soil feels dry. I killed or stunted a bunch of plants by watering them too much.
🔥 Ready to go? Get limited-time deals like BOGO on cannabis seeds at Homegrown Cannabis Co. — don’t miss out!”
Okay, then what?
Click Here—> HOW TO GROW CANNABIS #3: VEGETATIVE STAGE

How to Germinate Weed Seeds: FAQs
How long should you let a weed seed germinate?
Once you get started with the germination process, expect to wait between 2 to 4 days before the seeds are germinated.
What is the best way to germinate seeds?
I recommend using the paper towel method — this is usually the easiest and least stressful way to get the taproots out of your seeds.
Does weed germinate in light or dark?
Cannabis seeds germinate best in a moist, cool, and dark place. Once they develop their first cotyledon (leaf) they will then need light to grow.
Do you have to soak weed seeds in water?
It’s best not to soak your seeds in water, but rather have them in a moist place such as the process described above.
Do weed seeds need to be warm to germinate?
Yes, cannabis seeds will need some warmth to germinate properly. The ideal range is usually between 70°F to 80°F.