Core Maps #1: The Permaculture Base Map
The Six Core Permaculture Maps
As we adapted our mapmaking and world-building techniques from fiction to real life, I figured there'd be a solid body of literature on how to create maps for permaculture farms or homesteads, and I found tons. Tenth Acre Farm has a great article which says, the “process of designing an efficient homestead is like putting together a puzzle.” Six core maps “help you think through many possible scenarios and outcomes before you commit to certain strategies or concepts” and encourage you to “work with the unique characteristics of your site to achieve your goals.” These permaculture maps are:
Ok then! Map #1 is the "Permaculture Base Map." This is our starting point, a way to get our arms around what currently exists on your property and a baseline upon which to build for the future.
Note: Whether you’re working with a few acres or a few hundred square feet of apartment space, making maps is one of your best tools for strategy, planning, and preparation. For apartments, don’t bother with a precise architectural floor plan—you can start with a roughly sketched overhead view. Be sure to include roofs, courtyards, and any other common areas you can access; it may open up creative ideas for how you can utilize different spaces.
Before even attempting this foundational piece it’s important to gather some existing raw materials.
Mostly useless Google Earth view
COLLECTING EXISTING PROPERTY MAPS
STEP 1 is to collect existing maps or aerial views of your property. For some, Google Maps/Earth is a great source, but for us it was damn near useless: satellite images of our spot are out of date and the tree cover is so thick that you can barely spot our roof, let alone the driveway or other ground-level features.
Luckily, we know good people.
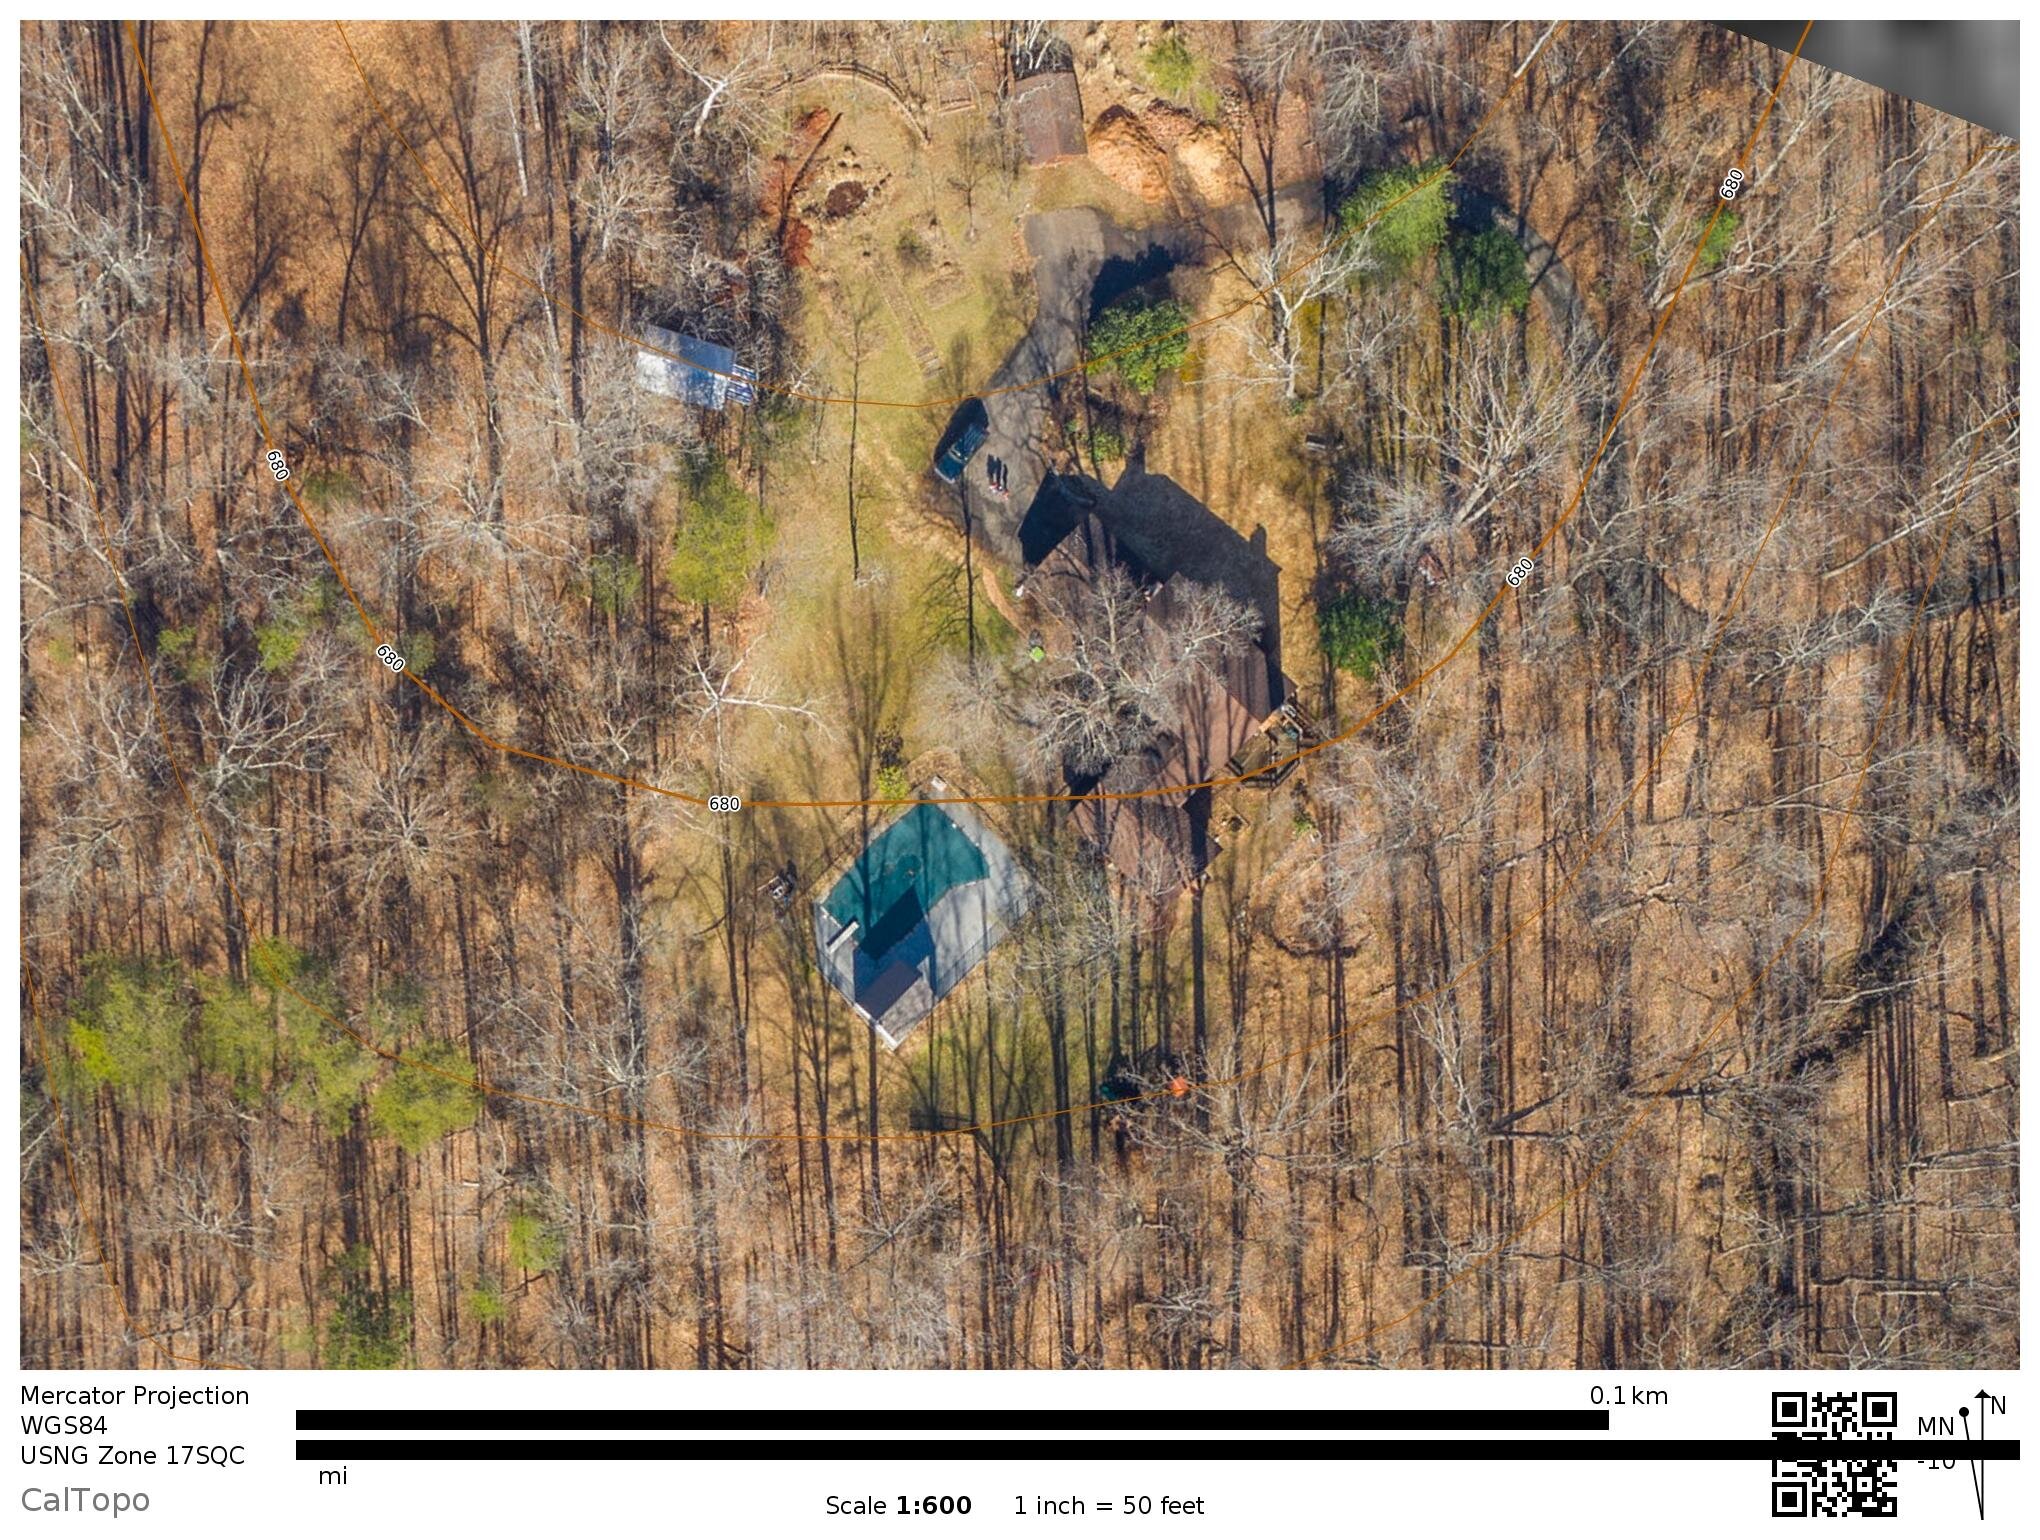
Sanjay Suchak is a really good person, an extraordinarily talented photographer and chronicler of music, education, and American culture, and also happens to also do some incredible drone photography. Sanjay was kind enough swing by Thunderbird Disco and take some aerial shots of our property in the winter (when there'd be less foliage cover). We'll be sharing a bunch of his stills and video throughout this project.
Sanjay’s aerial drone shots of our property
We paired Sanjay's aerial shots with some maps we pulled from GIS Web, a service of our county website, where you can generate maps with property lines, contours (those squiggly lines that help explain elevation and terrain), and other features.
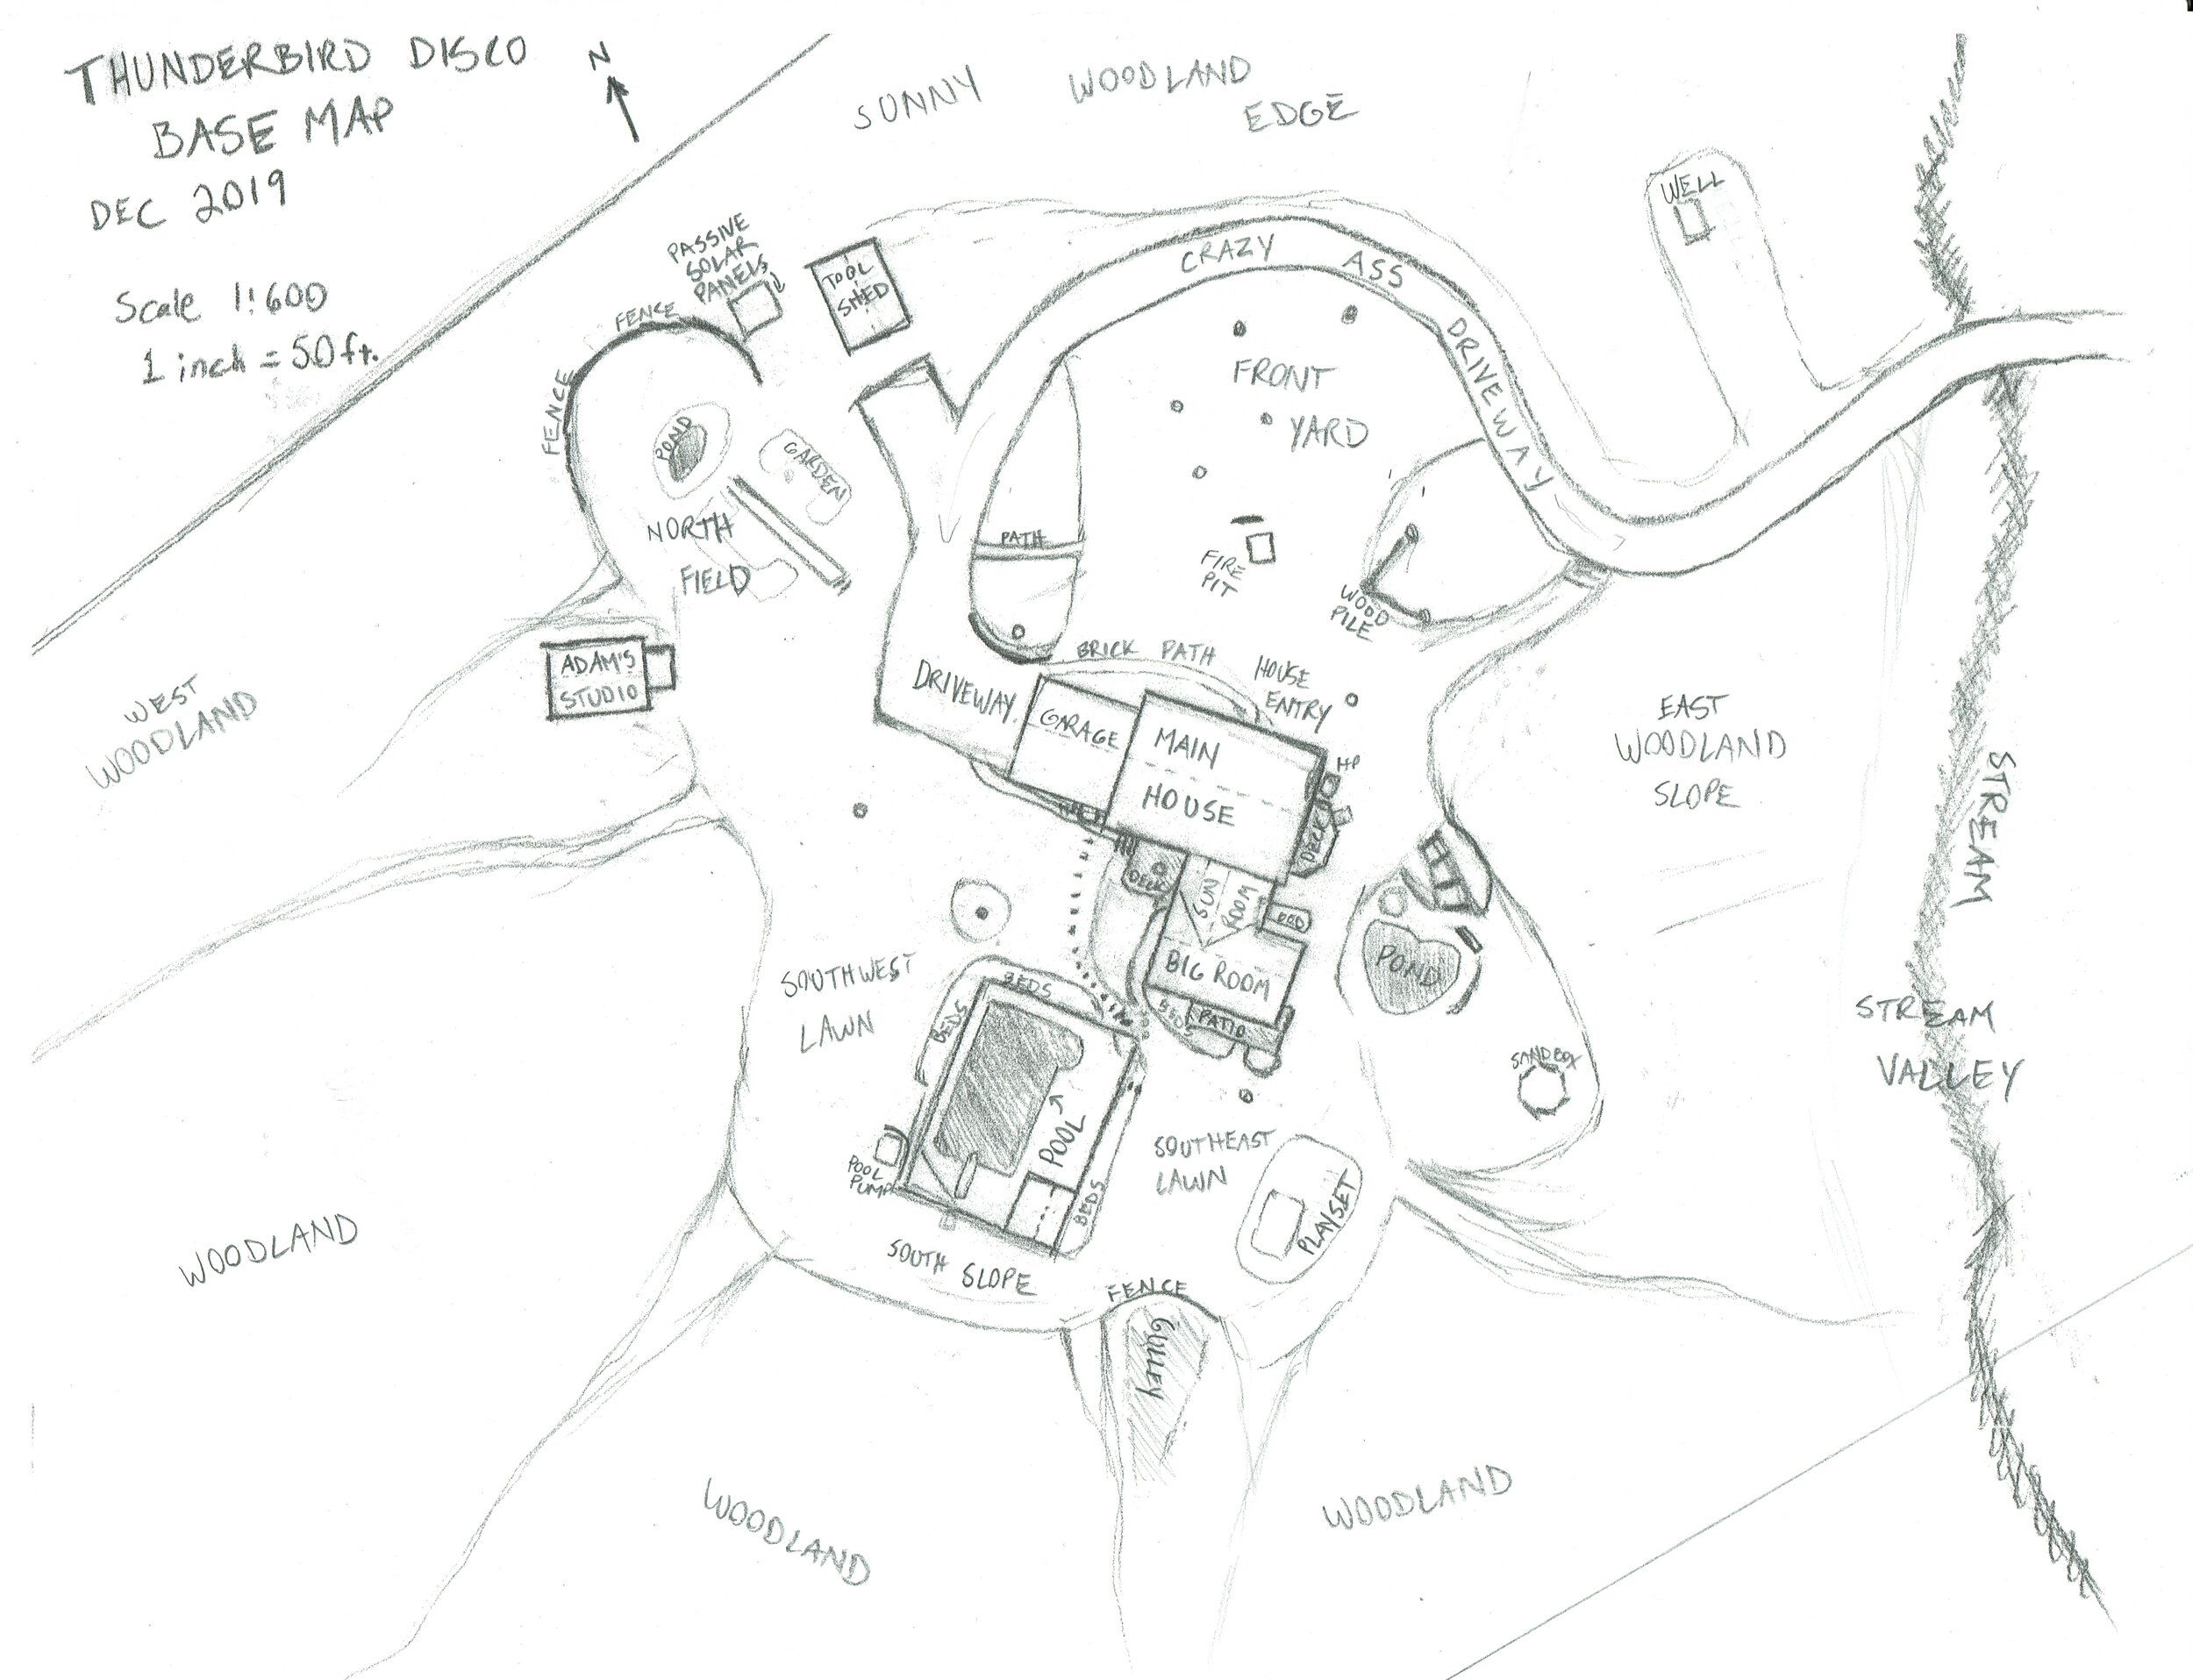
Another very good person and talented landscape architect that we’ll talk more about, Serena Nelson, then helped us create simplified, usable maps that would inform our Base Map.
Serena’s base map
Compositing MULTIPLE Maps
STEP 2: After gathering existing maps/aerials for our property, I experimented with a few apps that promised more detailed maps for our site. Most of it ended up being a waste of time/money (f’rinstance, I took a $21 shot on a 3D Map Generator plugin for Photoshop called Terrain, which looks fancy-awesome online and is fine if you're trying to create a map of maybe a sick mountain range covering a few square miles, but it doesn't quite have the resolution to work on the scale of a few acres).
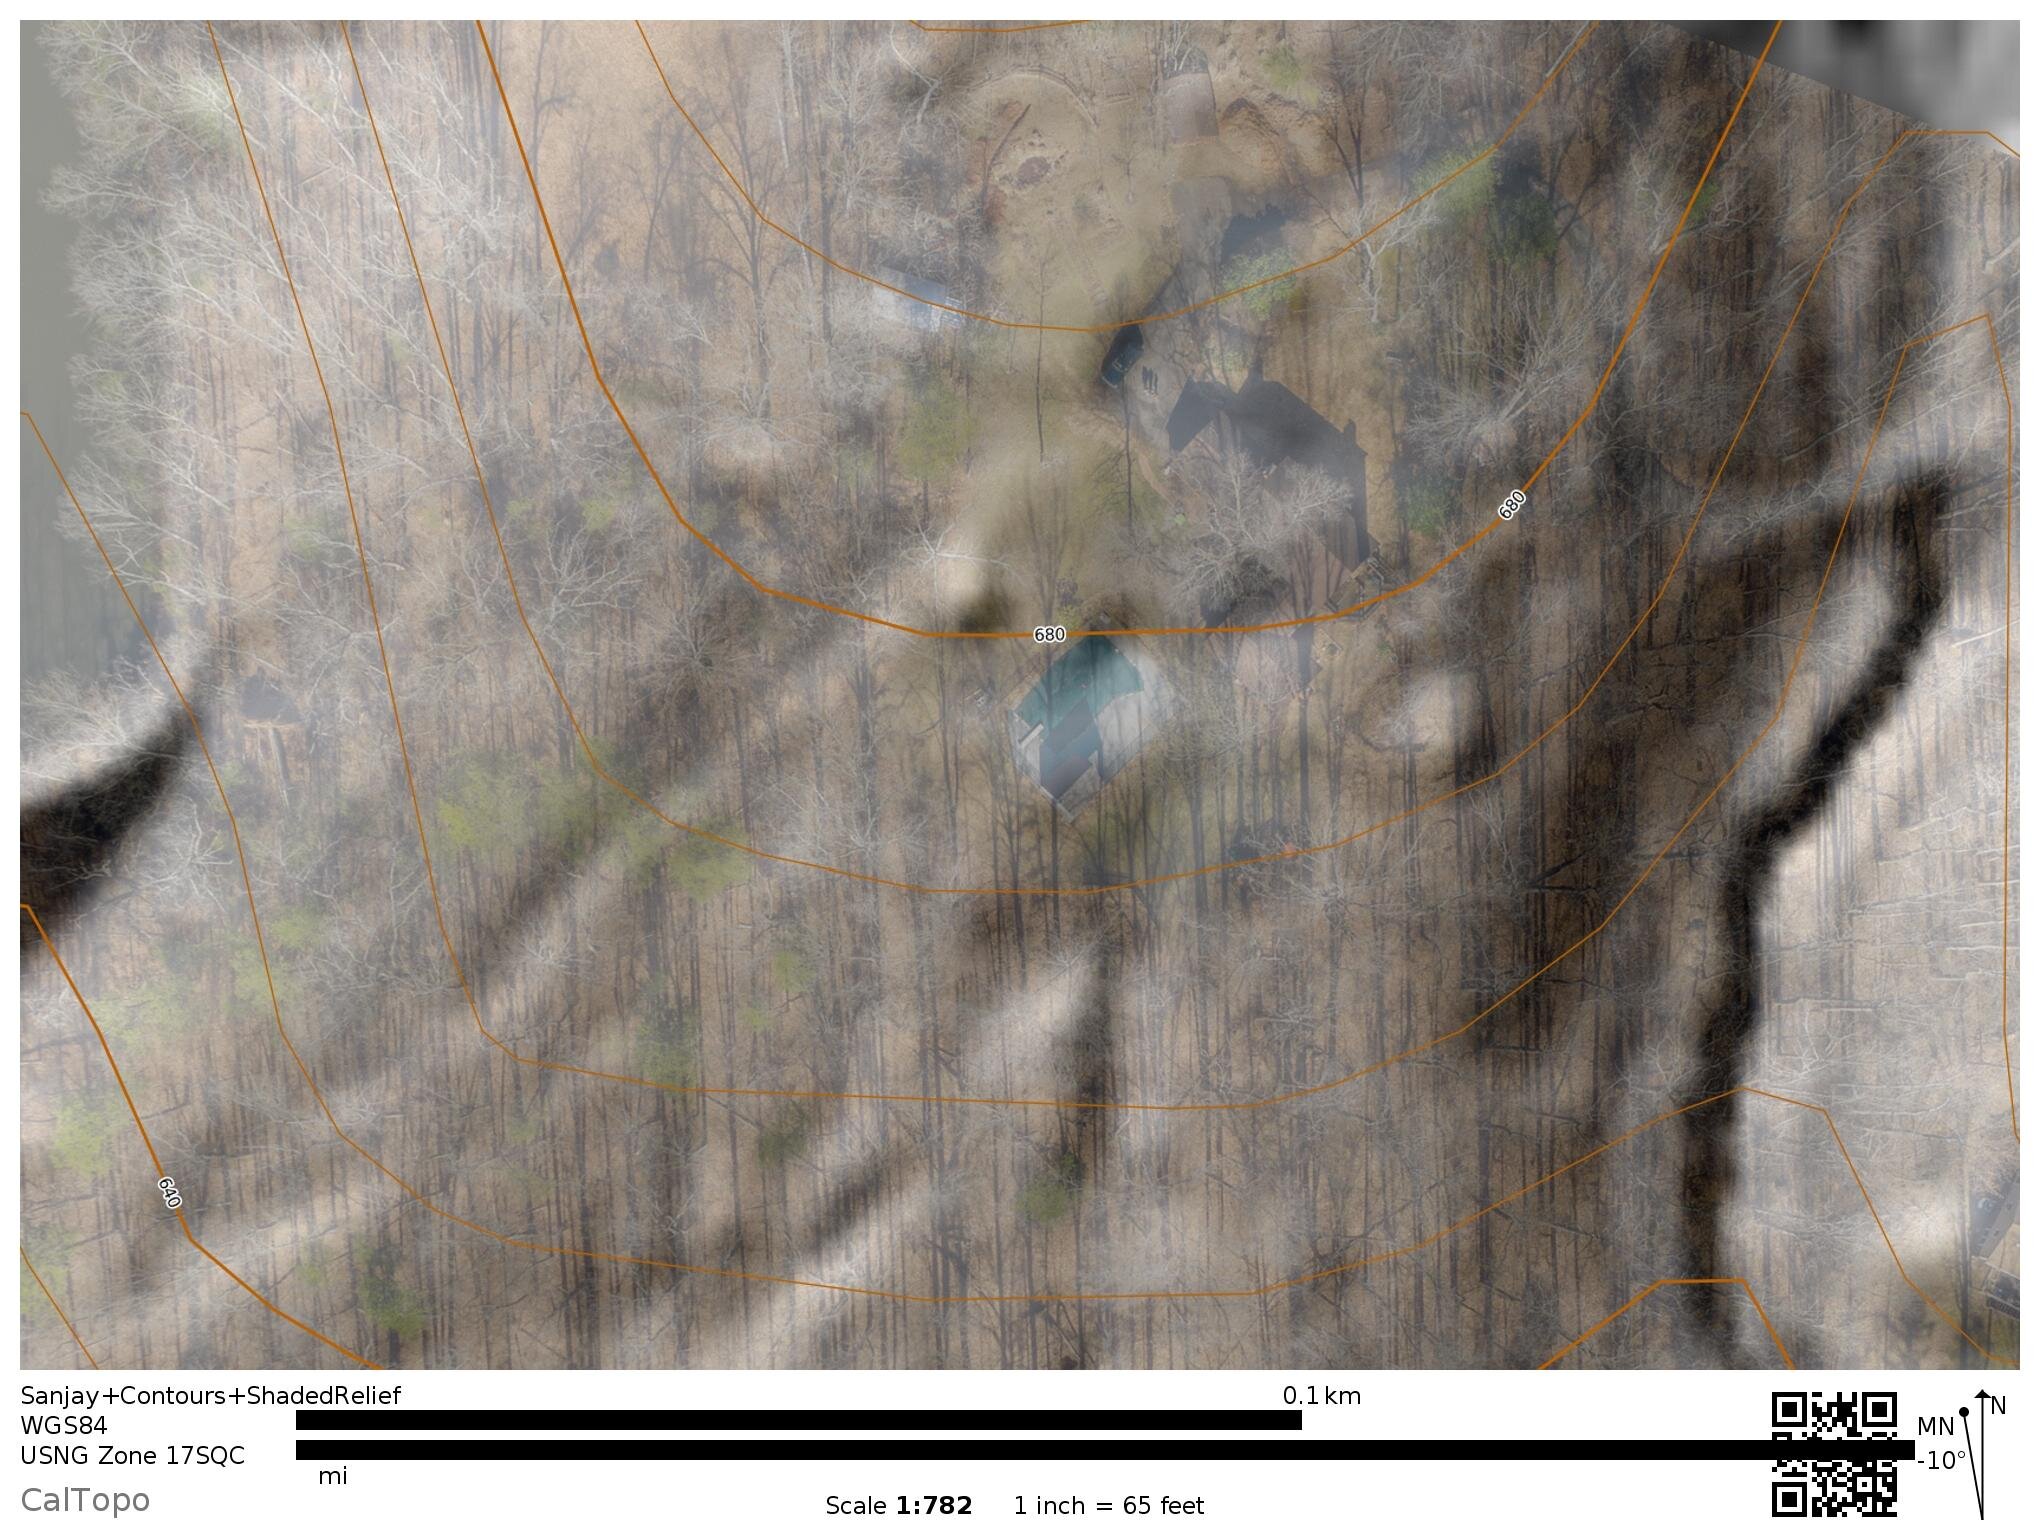
Luckily, Sanjay turned me onto Caltopo which is free. It’s great for backcountry trail mapping, and has been perfect for us. Enter your address and then Caltopo offers a ton of different preset maps—weather, topography, etc.—which can be layered on top of each other, with adjustable transparency.
What's especially useful is that you can add your own geospatial images (like Sanjay's drone photos), which become custom map layers after you match two points on the image with two coordinates on the map.
We get some flooding when big storms hit, and I’m expecting more and bigger storms in the future, so figuring out how water moves through our property (and how to make it work for us, rather than against us) is a big, early priority.
To help understand water flow, I used Caltopo's "Shaded Relief" map as a base layer, and then added Serena's base plan and Sanjay's aerial photo as custom layers. I then played with the opacity of each layer to help highlight terrain in Sanjay's photos (that wiggly black line on the right side of the images is the creek that runs through the east side of our property).


CREATING and Scanning YOUR BASE MAP
STEP 3: Now, then. To create our permaculture Base Map for Thunderbird Disco, the things I used were tracing/vellum paper, some pencils, and a light source to help with tracing. Someone recommended I buy a lightbox meant for tracing, but I went to an A.C. Moore that's going out of business and even then they were like $169 so I was like nope. If you pull up an image on your laptop and crank up the F2 you can lightly trace directly on the screen.
I used one of Sanjay’s aerials as the starting place, then traced the outlines of all the major structures and land features on vellum paper. This gave me a base map which I scanned (always scan everything) and then I added labels and scanned again. I then printed this version on grid paper and scanned again.
Then I dove into my kids' colored pencils and had fun (coloring is both over/underrated). In order of move-ability, I marked buildings/hardscapes, decks/patios, fences/woodpiles...then the lawn areas that I regularly mow, then water areas, then the unkempt areas that I probably should take care of but don't, then the deep dark woods...
I scanned each of these so I can layer them digitally or print one thing on top of another. It's been a useful way to get my arms around the property and figure out what's next...


